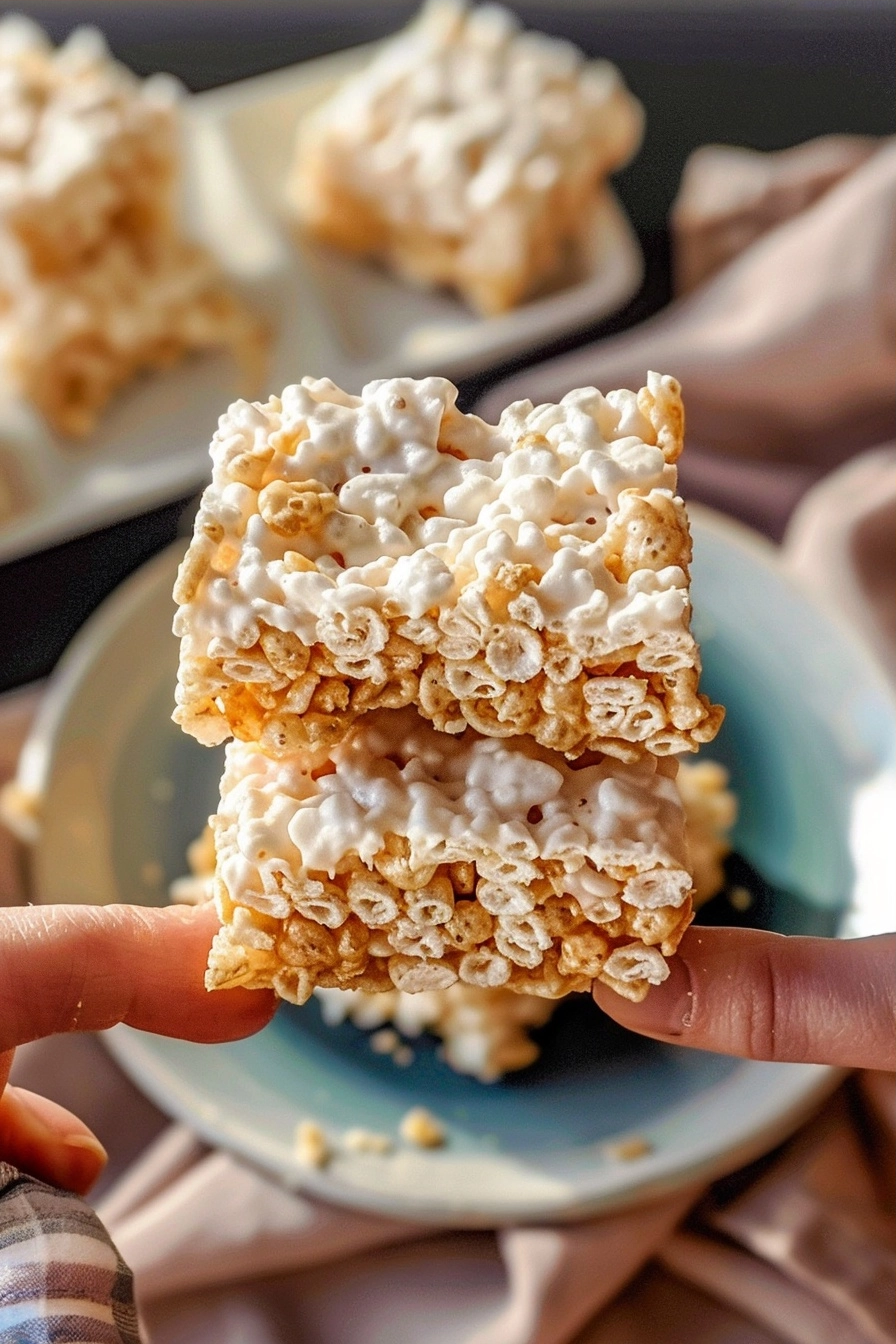
Classic Rice Krispie Treats represent the quintessential childhood snack, elevated here through the addition of premium butter and aromatic vanilla. This simple yet sophisticated recipe ensures a soft, gooey texture that remains chewy rather than stiff or overly sugary. By using high-quality ingredients, you transform a nostalgic staple into a decadent homemade confection perfect for any occasion.
Recipe Overview
| Prep Time | Cook Time | Total Time | Servings | Difficulty | Cuisine |
|---|---|---|---|---|---|
| 5 Minutes | 10 Minutes | 15 Minutes | 12 Squares | Easy | American |
Why This Recipe Works
This recipe succeeds because it prioritizes fat content and temperature control. Using high-quality European salted butter provides a richer, creamier base that prevents the marshmallows from becoming brittle as they cool. The lower water content in European brands creates a more stable, indulgent marshmallow mixture that stays soft for days.
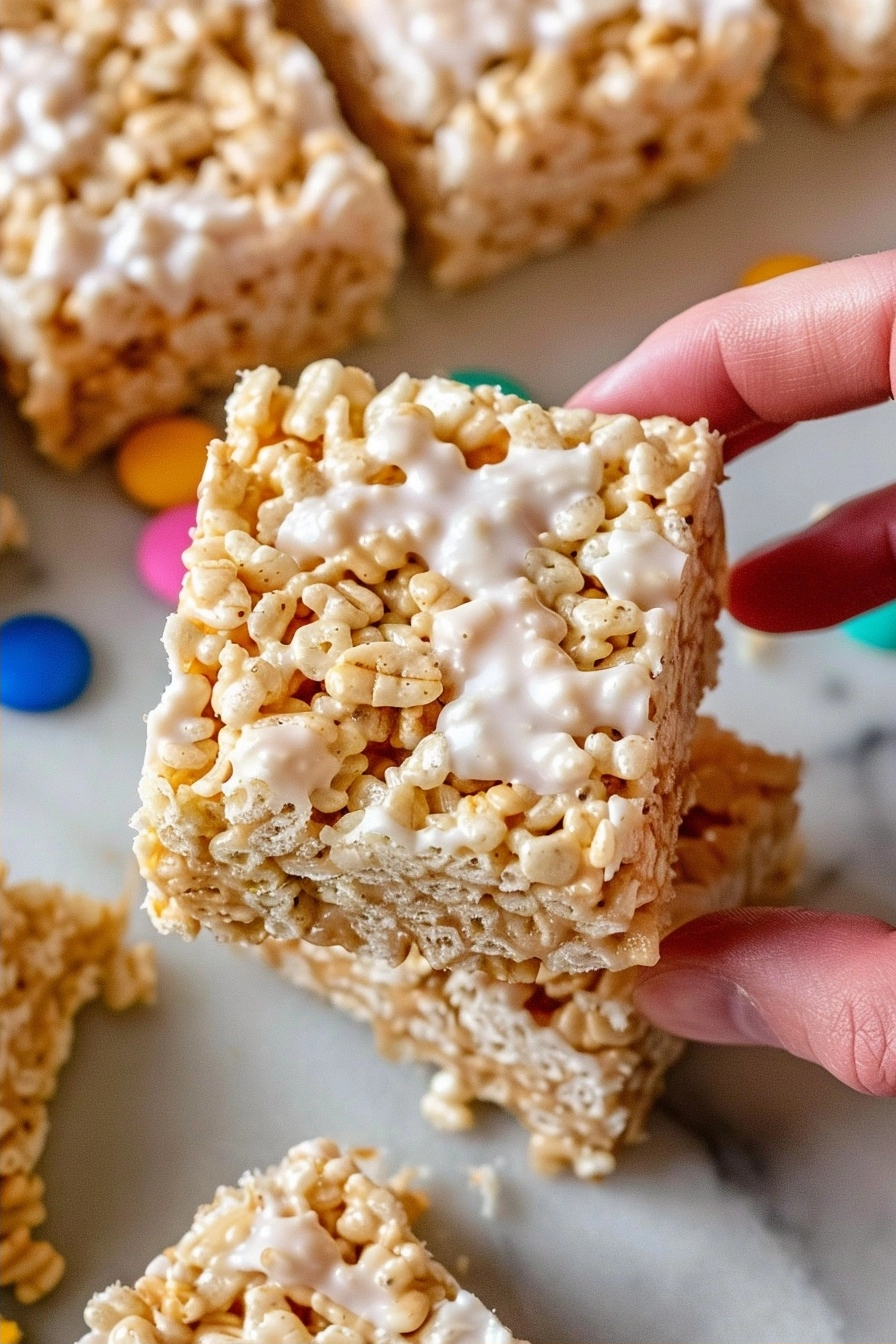
Adding vanilla extract introduces a subtle aromatic depth that balances the intense sweetness of the melted marshmallows. Many commercial versions lack this complexity, leaving the treats one-dimensional. My testing shows that incorporating extra marshmallows at the very end creates those iconic pockets of gooey texture that define a perfect crispy snack.
Ingredients
| Ingredient | Quantity | Notes |
|---|---|---|
| Salted European Butter | 4 Tablespoons | Use Kerrygold or Plugra for higher fat content |
| Miniature Marshmallows | 10 Ounces | Split into two portions for layering texture |
| Rice Cereal | 6 Cups | Ensure the cereal is fresh and crisp |
| Vanilla Extract | 1 Teaspoon | Pure vanilla extract provides superior depth |
| Colored Sprinkles | 2 Tablespoons | Optional for visual flair and crunch |
Step-by-Step Instructions
Preparation and Melting
- Line a 9×9 inch square baking pan with parchment paper to ensure easy removal.
- Melt the salted European butter in a large heavy-bottomed pot over low heat.
- Add 8 ounces of the miniature marshmallows to the butter, stirring constantly until completely smooth.
- Remove the pot from the heat immediately to prevent the marshmallow mixture from caramelizing too deeply.
- Stir in the pure vanilla extract until fully incorporated into the marshmallow base.
Combining and Setting
- Fold in the crisp rice cereal gently until every piece is evenly coated in the mixture.
- Add the remaining 2 ounces of miniature marshmallows and the colored sprinkles to the pot.
- Transfer the mixture into your prepared baking pan, using a buttered spatula to flatten it slightly.
- Allow the treats to set at room temperature for at least 30 minutes before slicing into squares.
Chef Tips for Perfect Results
- Keep your heat source consistently low to prevent the sugar in the marshmallows from hardening.
- Butter your spatula lightly with extra butter to stop the marshmallow mixture from sticking to your tools.
- Fold the cereal in batches rather than dumping it all at once for a more uniform coating.
- Press the mixture into the pan using minimal pressure to keep the treats airy and light.
- Store them in an airtight container to maintain the signature chewy texture for up to three days.
Common Mistakes to Avoid
Overcooking the marshmallow mixture is a frequent error that leads to rock-hard treats. High heat causes the sugars to recrystallize, resulting in a brittle texture. Always use low heat and remove from the flame as soon as the mixture is smooth. Another mistake is using stale cereal, which compromises the crunch. Always check the cereal’s crispness before starting to ensure the best possible experience.
Variations and Substitutions
| Ingredient | Substitution | Impact on Flavor |
|---|---|---|
| Salted Butter | Coconut Oil | Adds a subtle tropical aroma and vegan profile |
| Vanilla Extract | Almond Extract | Creates a distinct nutty, professional pastry finish |
| Rice Cereal | Puffed Quinoa | Provides a healthier, slightly earthier texture |
Serving Suggestions and Pairings
These treats pair beautifully with a cold glass of milk or a hot cup of black coffee for a balanced afternoon snack. They serve as excellent additions to birthday dessert tables or holiday gift boxes. You can even drizzle them with melted dark chocolate or a dusting of sea salt to elevate them for adult gatherings.
Storage and Reheating
| Method | Duration | Instructions |
|---|---|---|
| Airtight Container | 3 Days | Keep at room temperature in a cool, dry place |
| Freezer | 1 Month | Wrap individually in wax paper and store in a freezer bag |
Nutritional Information
| Nutrient | Amount per Serving |
|---|---|
| Calories | 145 kcal |
| Total Fat | 4g |
| Carbohydrates | 28g |
| Sugar | 18g |
Approximate values per serving based on 12 squares.
Frequently Asked Questions
Can I use giant marshmallows for this recipe?
Giant marshmallows do not melt as evenly as miniature ones, which creates an inconsistent texture. Miniature marshmallows are specifically designed for rapid, smooth melting, making them superior for this specific application.
How do I fix treats that are too hard?
Treats that turn out too hard were likely cooked over heat that was too high for too long. Unfortunately, there is no way to fix hardened treats once they have cooled down completely.
Can I make these treats in advance?
You can prepare these treats up to two days before your event if stored in an airtight container. Keep them at room temperature to preserve the intended chewiness and flavor profile.
What is the best way to cut clean squares?
The best way to cut clean squares is to use a sharp knife sprayed lightly with non-stick cooking spray. Wiping the knife clean between each cut ensures professional, neat edges every time.
Is it necessary to use salt in the butter?
Salted butter provides a crucial flavor contrast that prevents the treats from tasting cloyingly sweet. While you can use unsalted butter, adding a pinch of fine sea salt to the marshmallow mixture is highly recommended for balance.
Mastering these classic Rice Krispie treats requires attention to detail and patience during the melting phase. By choosing high-quality ingredients like European butter and pure vanilla, you elevate a simple pantry staple into a gourmet snack. Practice these techniques to achieve the perfect balance of gooey and crunchy in every bite. Enjoy these treats as a timeless dessert that never fails to please a crowd with its comforting, nostalgic flavor profile.
PrintClassic Gourmet Rice Krispie Treats
Elevate your childhood snack with this sophisticated take on the classic Rice Krispie Treat. By using premium European salted butter and a touch of pure vanilla extract, we create a rich, chewy, and aromatic confection. A clever two-stage marshmallow addition ensures delightful, gooey pockets in every bite, making these the ultimate homemade dessert for any gathering.
- Prep Time: 5
- Cook Time: 10
- Total Time: 15
- Yield: 12 squares
- Category: All Recipes
- Method: Stovetop
- Cuisine: American
- Diet: Vegetarian
Ingredients
4 Tablespoons salted European butter
10 ounces miniature marshmallows, divided
6 cups crisp rice cereal
1 teaspoon pure vanilla extract
2 tablespoons colored sprinkles (optional)
Instructions
Line a 9×9 inch square baking pan with parchment paper.
In a large heavy-bottomed pot, melt the salted European butter over low heat.
Add 8 ounces of the miniature marshmallows to the butter, stirring constantly until melted and smooth.
Remove the pot from the heat immediately.
Stir in the pure vanilla extract until fully incorporated.
Fold in the rice cereal gently until every piece is evenly coated.
Add the remaining 2 ounces of marshmallows and the sprinkles, folding them in briefly to maintain texture.
Transfer the mixture to the prepared pan and press lightly into an even layer.
Allow to cool completely before cutting into 12 squares.
Notes
Use high-quality European butter for the best fat content and flavor profile. Ensure you remove the pot from the heat promptly after the marshmallows melt to keep the texture soft and chewy rather than stiff. Store in an airtight container at room temperature for up to three days.