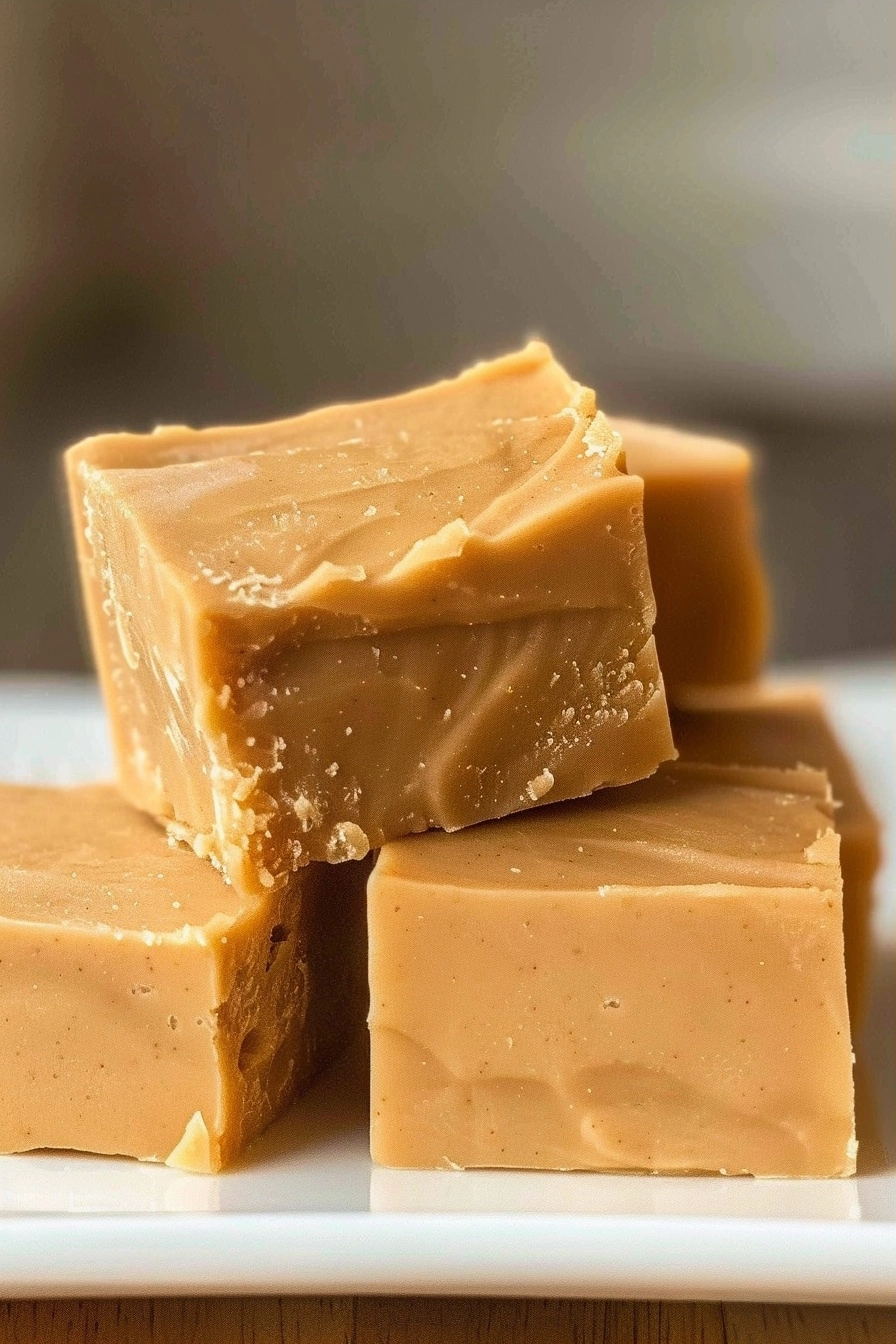
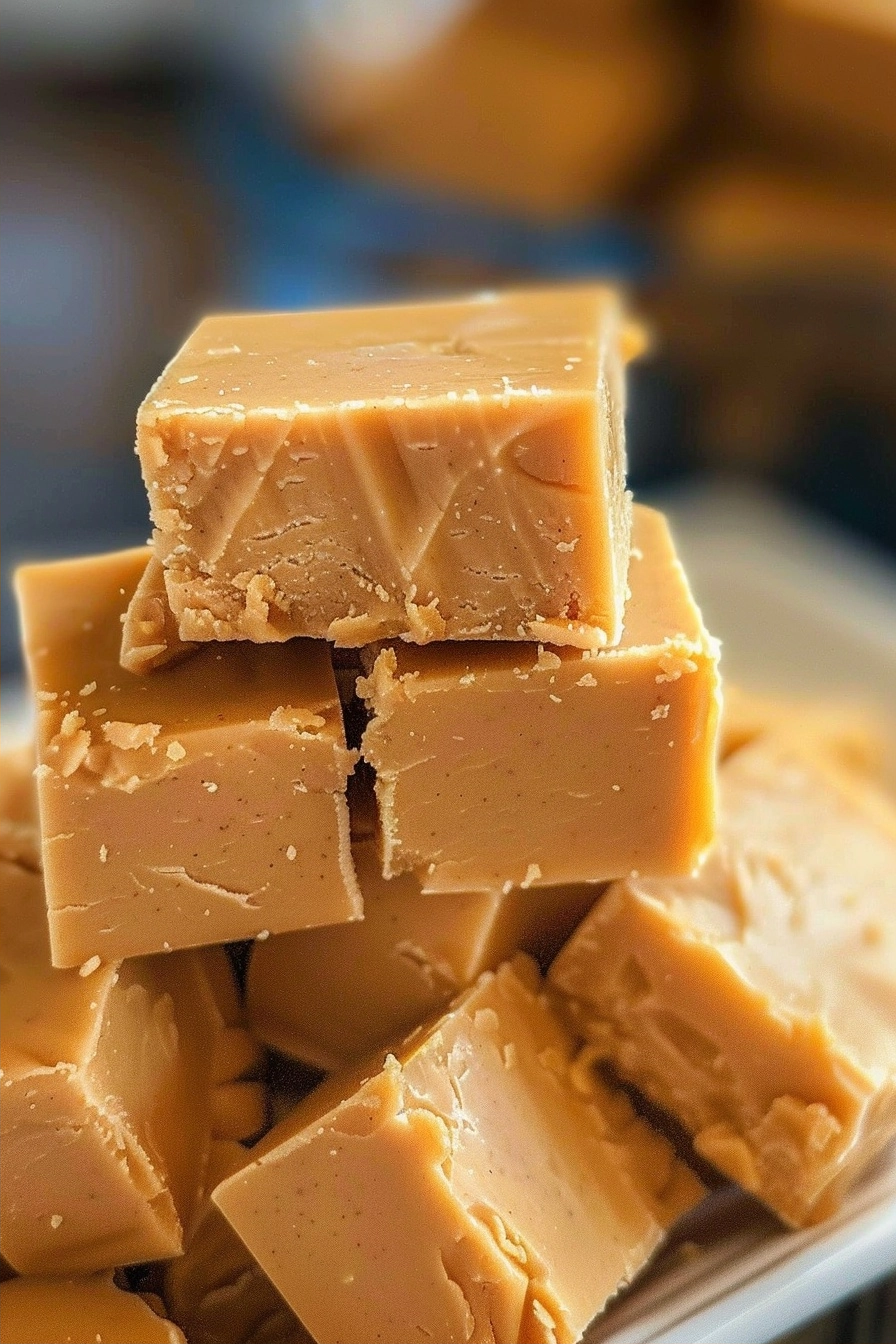
3-Ingredient peanut butter fudge is an incredibly simple confection made by melting together creamy nut butter, sweet condensed milk, and rich chocolate. This classic dessert requires only a few minutes of active preparation time to achieve a smooth, decadent texture that melts on the tongue. Home bakers choose this recipe because it eliminates the need for candy thermometers or complicated sugar syrup stages. You get a perfect fudge every time with minimal effort.
Recipe Overview
| Property | Value |
|---|---|
| Prep Time | 5 minutes |
| Cook Time | 5 minutes |
| Total Time | 10 minutes (plus cooling) |
| Servings | 24 squares |
| Difficulty | Easy |
| Cuisine | American |
Why This Recipe Works
This recipe works because the high fat content in peanut butter provides the necessary structure while the sweetened condensed milk acts as the perfect binding agent. I personally rely on this method when I need a crowd-pleasing treat for holidays or last-minute potlucks. It delivers professional results without the frustration of grainy textures often found in traditional boiled fudge recipes.
You will appreciate how forgiving this process remains regardless of your experience level in the kitchen. By controlling the melting process, you ensure a glossy, uniform finish every time. Many professional bakers use this base recipe technique to build elaborate confectionary displays without unnecessary stress.
Ingredients
| Ingredient | Quantity | Notes |
|---|---|---|
| Peanut Butter | 1 cup | Use creamy, shelf-stable variety for best results. |
| Chocolate Chips | 12 ounces | Semi-sweet or milk chocolate works best. |
| Sweetened Condensed Milk | 14 ounces | Ensure you use sweetened, not evaporated milk. |
Step-by-Step Instructions
Preparation and Melting
- Line an 8×8 inch square baking dish with parchment paper to ensure easy removal of the set fudge.
- Combine the sweetened condensed milk and chocolate chips in a large glass bowl or a heavy-bottomed saucepan.
- Heat the mixture over low heat, stirring constantly until the chocolate fully melts into a smooth consistency.
- Add the creamy peanut butter to the warm chocolate base immediately after taking the mixture off the heat.
- Stir the peanut butter until the entire mixture achieves a uniform, glossy brown color throughout.
Setting and Finishing
- Pour the combined fudge mixture into the prepared square baking dish, spreading it evenly with a spatula.
- Smooth the top surface to create an appealing aesthetic before placing the dish in the refrigerator.
- Chill the fudge for at least two hours until it feels firm to the touch.
- Lift the parchment paper out of the pan and place the block on a flat cutting board.
- Slice the block into twenty-four equal squares using a sharp knife dipped in warm water for clean edges.
Chef Tips for Perfect Results
- Always select a shelf-stable, no-stir peanut butter to maintain the correct fat-to-moisture ratio for firm fudge.
- Use a double boiler setup to prevent the chocolate from burning if you find the stove heat too aggressive.
- Add a pinch of sea salt to the top before chilling to balance the sweetness of the condensed milk.
- Dip your knife in hot water and wipe it dry between every cut to prevent the chocolate from sticking.
- Store the finished squares between layers of wax paper in an airtight container to keep them from drying out.
Common Mistakes to Avoid
Using evaporated milk instead of sweetened condensed milk creates a bitter, thin mixture that never sets properly. Always check your labels carefully before starting. If your fudge appears too greasy, you likely used a natural, oily peanut butter; stick to standard commercial brands to fix this.
Variations and Substitutions
| Ingredient | Substitution | Impact on Flavor |
|---|---|---|
| Chocolate Chips | White Chocolate | Sweeter, creamier profile |
| Peanut Butter | Almond Butter | Subtle nutty depth |
| Semi-sweet Chips | Dark Chocolate | Less sweet, more intense cocoa |
Serving Suggestions and Pairings
Serve this fudge alongside a hot cup of roasted coffee or a cold glass of whole milk during winter gatherings. It pairs exceptionally well with fresh berries or a side of unsalted pretzels for a sweet and salty contrast. Consider wrapping individual pieces in gold foil for a polished look at holiday parties or gift baskets.
Storage and Reheating
| Method | Duration | Instructions |
|---|---|---|
| Refrigerator | 2 weeks | Keep in an airtight container. |
| Freezer | 3 months | Wrap in parchment and seal in freezer bags. |
Nutritional Information
| Nutrient | Amount per Serving |
|---|---|
| Calories | 185 kcal |
| Fat | 9g |
| Carbohydrates | 22g |
| Protein | 3g |
Approximate values.
Frequently Asked Questions
Can I use natural peanut butter instead of commercial?
Natural peanut butter contains too much oil and lacks the emulsifiers needed to bind the fudge, leading to a greasy final product. Always use standard shelf-stable peanut butter for the best consistency.
How do I know when the fudge is fully set?
The fudge is fully set when it feels firm to the touch and does not leave an indentation when pressed. Chilling for at least two hours usually guarantees this state.
Why did my chocolate seize during the melting process?
Chocolate seizes when even a tiny amount of moisture or excessive heat enters the melting bowl. Use a completely dry bowl and keep your heat setting on the lowest possible level to avoid this issue.
Can this recipe be made ahead of time for parties?
This recipe is ideal for advance preparation because it keeps perfectly in the refrigerator for two weeks. Make it up to three days before your event for maximum freshness and flavor quality.
How should I store leftover fudge to keep it fresh?
Store leftover fudge in an airtight container inside the refrigerator to prevent the squares from absorbing odors from other foods. Using parchment paper between layers prevents the pieces from sticking together.
Mastering this 3-Ingredient peanut butter fudge recipe provides you with a reliable dessert option that satisfies any sweet craving. The simplicity of these ingredients allows the deep, nutty flavor to take center stage. Enjoy the process of creating this classic treat and sharing it with friends and family. Your kitchen will surely smell amazing during the brief melting phase of this decadent, easy-to-make confection.
Print3-Ingredient Peanut Butter Fudge
Indulge in this effortlessly rich and decadent fudge that comes together in mere minutes. By combining creamy peanut butter, silky sweetened condensed milk, and semi-sweet chocolate, this recipe creates a smooth, melt-in-the-mouth texture that is perfect for any occasion. It is a foolproof, professional-quality dessert that requires no candy thermometers or complex cooking techniques, making it the perfect treat for busy bakers or last-minute holiday gatherings.
- Prep Time: 5
- Cook Time: 5
- Total Time: 10
- Yield: 24 squares
- Category: Deserts
- Method: Stovetop melting
- Cuisine: American
- Diet: Vegetarian
Ingredients
1 cup creamy peanut butter
12 ounces semi-sweet or milk chocolate chips
14 ounces sweetened condensed milk
Instructions
Line an 8×8 inch square baking dish with parchment paper.
Combine the sweetened condensed milk and chocolate chips in a large glass bowl or heavy-bottomed saucepan.
Heat over low heat, stirring constantly until the chocolate is fully melted and smooth.
Remove from heat and immediately stir in the creamy peanut butter.
Mix until the fudge reaches a uniform, glossy brown color.
Pour the mixture into the prepared baking dish and spread evenly with a spatula.
Smooth the top surface and refrigerate until fully set before slicing into 24 squares.
Notes
Ensure you use sweetened condensed milk rather than evaporated milk, as the sugar is vital for the texture. Store the fudge in an airtight container in the refrigerator for up to two weeks.