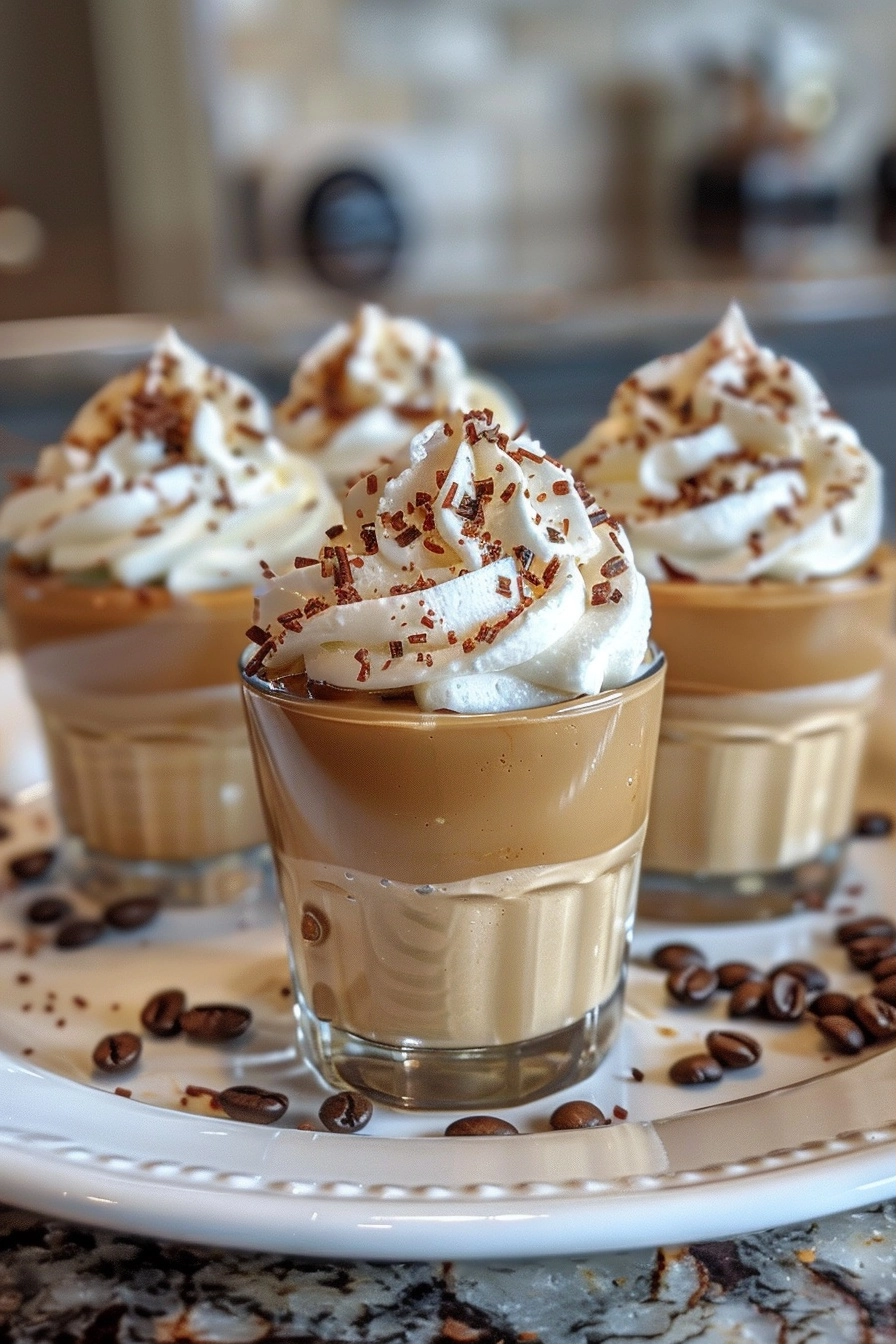
Maple Latte Mousse Cups combine bold espresso notes with rich maple sweetness for an elegant, coffee-infused treat. This refined dessert layers airy whipped cream and velvety mascarpone into a sophisticated portioned glass. The integration of high-quality espresso powder ensures a deep, balanced profile that satisfies both coffee lovers and dessert enthusiasts. Its quick preparation makes it an ideal choice for elegant dinners or casual weekend gatherings.
Recipe Overview
| Category | Details |
|---|---|
| Prep Time | 15 minutes |
| Cook Time | 0 minutes |
| Total Time | 15 minutes |
| Servings | 4 servings |
| Difficulty | Easy |
| Cuisine | Modern Fusion |
Why This Recipe Works
This recipe succeeds because it leverages the natural emulsifying properties of mascarpone to create a stable, airy mousse without the need for gelatin. The contrast between the heavy cream and the espresso powder creates a texture that feels decadent yet remains light on the palate.
By using real maple syrup instead of granulated sugar, the dish gains an earthy depth that complements the bitter espresso notes perfectly. Experience shows that folding these ingredients gently creates a professional finish that stands up well to refrigeration. This combination ensures every spoonful provides a consistent, balanced experience of sweet and roasted flavors.
Ingredients
| Ingredient | Quantity | Notes |
|---|---|---|
| Heavy Cream | 1 cup | Ensure it is chilled thoroughly |
| Mascarpone | 1/2 cup | Softened to room temperature |
| Maple Syrup | 1/4 cup | Use pure Grade A maple syrup |
| Vanilla Extract | 1 tsp | Pure vanilla for best flavor |
| Espresso Powder | 1 tsp | High-quality finely ground powder |
| Cinnamon | 1/2 tsp | Freshly ground for aroma |
Step-by-Step Instructions
Preparing the Base
- Whisk the mascarpone cheese, maple syrup, vanilla, and espresso powder in a large bowl until the mixture is completely smooth and free of lumps.
- In a separate chilled bowl, whip the heavy cream using a handheld electric mixer until stiff peaks form.
Combining and Chilling
- Fold one-third of the whipped cream into the mascarpone mixture to lighten the density of the base.
- Incorporate the remaining whipped cream using a gentle folding motion to maintain the airy texture of the mousse.
- Spoon the finished mixture into individual serving cups or ramekins for a clean presentation.
- Dust the tops with the remaining cinnamon and chill for at least thirty minutes before serving to allow flavors to meld.
Chef Tips for Perfect Results
- Chill your mixing bowl and beaters in the freezer for ten minutes before whipping the heavy cream.
- Dissolve the espresso powder in a teaspoon of warm water before adding to the mascarpone to ensure it does not leave gritty textures.
- Use a silicone spatula to fold the ingredients, as excessive mechanical force will deflate the trapped air bubbles.
- Pipe the mousse into cups using a pastry bag to create professional-looking swirls that elevate the visual appeal.
Common Mistakes to Avoid
- Over-whipping the cream: This turns the mousse grainy and separates the fat from the liquid, ruining the smooth mouthfeel.
- Using cold mascarpone: Hard, cold cheese resists blending, resulting in lumpy mousse that lacks the desired consistency.
- Adding warm ingredients: Ensure the espresso mixture is at room temperature before adding the cream to prevent melting the structure.
- Inadequate chilling: Skipping the chill time prevents the flavors from deepening and leads to a soft, runny dessert.
Variations and Substitutions
| Ingredient | Substitution | Impact on Flavor |
|---|---|---|
| Mascarpone | Cream Cheese | Adds a slightly tangier, denser profile |
| Maple Syrup | Agave Nectar | Reduces the earthy maple depth |
| Espresso Powder | Instant Coffee | Provides a less complex, milder coffee note |
Serving Suggestions and Pairings
Serve these cups alongside shortbread cookies or biscotti to add a satisfying crunch to the soft texture. They pair beautifully with a decaf pour-over coffee or a selection of herbal teas during evening gatherings. For a special touch, garnish the top with a single chocolate-covered espresso bean or a small cinnamon stick to signify the primary flavor notes.
Storage and Reheating
| Method | Duration | Instructions |
|---|---|---|
| Refrigeration | Up to 24 hours | Cover tightly with plastic wrap to prevent skin formation |
| Freezer | Not Recommended | Freezing ruins the airy texture of the whipped cream |
Nutritional Information
Approximate values per serving.
| Nutrient | Amount |
|---|---|
| Calories | 280 kcal |
| Fat | 22g |
| Carbohydrates | 18g |
| Protein | 3g |
Frequently Asked Questions
Can I use instant coffee instead of espresso powder?
Yes, you can use instant coffee, though espresso powder provides a much more concentrated flavor. If substituting, increase the amount by half a teaspoon to maintain the intended depth.
Why did my mousse become runny?
The mousse becomes runny primarily due to over-mixing or using warm ingredients that deflate the cream. Always ensure the base is cool and the folding is done with light, deliberate motions.
How far in advance can I prepare Maple Latte Mousse Cups?
You can prepare this dessert up to twenty-four hours in advance for the best texture. Keep the cups covered in the refrigerator until the exact moment you are ready to serve them.
Can I make this recipe dairy-free?
You can attempt this with full-fat coconut cream and a dairy-free cream cheese alternative. However, the texture will differ significantly from the traditional dairy version due to the change in fat structure.
What is the best way to check the doneness of the mousse?
Doneness is determined by visual consistency and structural stability rather than internal temperature. The mousse is finished when it holds a soft peak and does not slide down the side of the bowl when tilted.
Mastering these Maple Latte Mousse Cups allows you to deliver a professional-grade dessert with minimal effort. The synergy of smooth mascarpone and bold espresso creates a lasting impression on your guests. Experiment with your preferred coffee roasts to tailor the intensity to your personal taste. Enjoy this delightful treat during your next after-dinner gathering for a sophisticated and memorable finish.