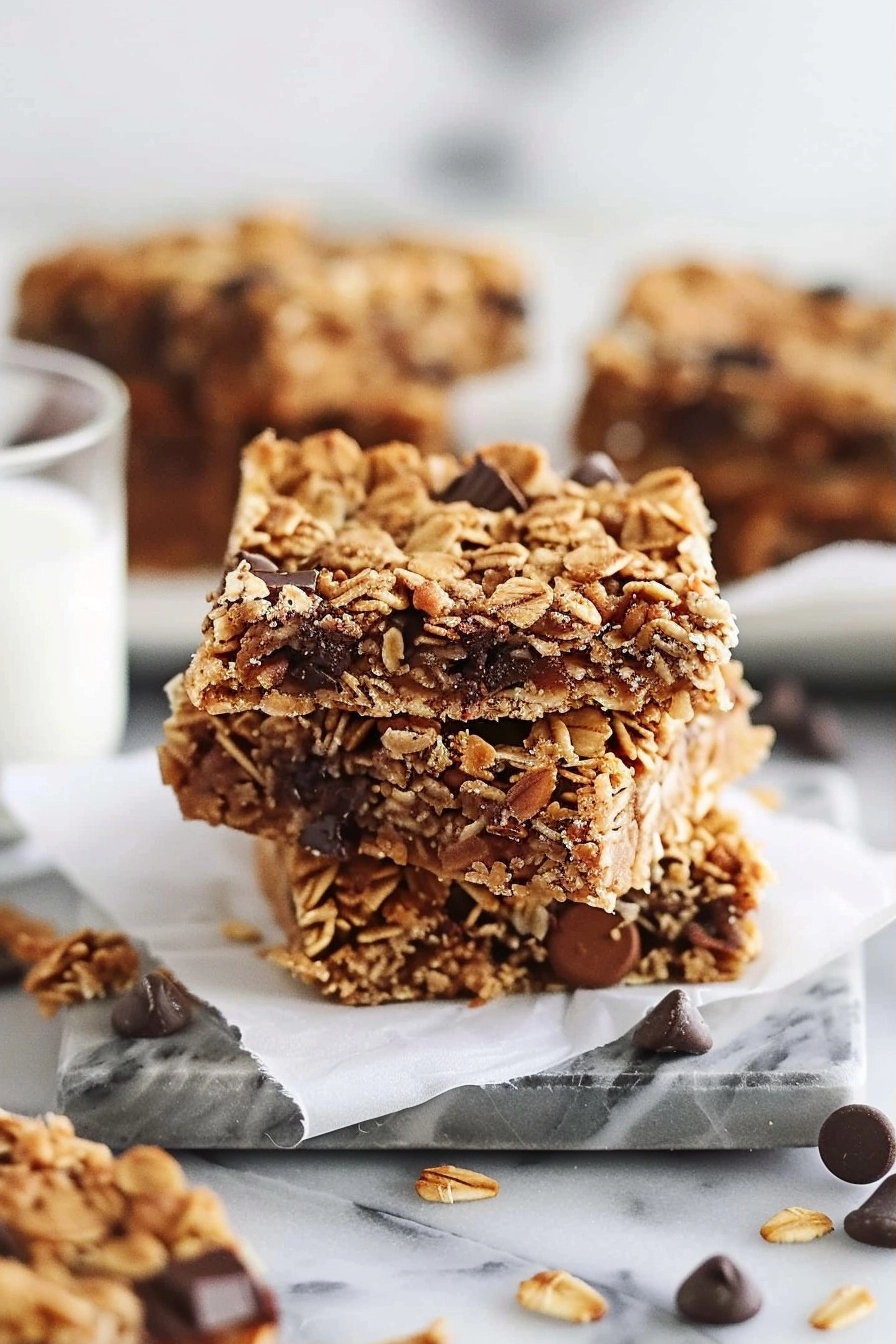
Chewy granola cookie bars are dense, satisfying treats that combine the texture of a classic cookie with the wholesome ingredients of a granola bar. This simple, no-bake recipe creates a perfect balance of chewy oats, crunchy puffed rice, and rich chocolate for an ideal snack. You can prepare these nutritious bars in minutes using pantry staples that keep well throughout the week.
Recipe Overview
| Prep Time | Cook Time | Total Time | Servings | Difficulty | Cuisine |
|---|---|---|---|---|---|
| 10 minutes | 5 minutes | 2 hours | 12 bars | Easy | American |
Why This Recipe Works
This recipe works because it relies on the natural binding power of nut butter and honey to create a cohesive bar without needing any eggs or baking. The combination of quick oats and puffed rice provides a satisfying crunch that contrasts beautifully with the soft, chewy texture created by the melted binder mixture.
My experience testing this formula shows that using coconut oil instead of butter helps the bars set firmly while maintaining a pleasant melt-in-the-mouth quality. You get a perfect, portable snack that bridges the gap between a breakfast granola bar and a decadent dessert without any artificial additives or stabilizers.
Ingredients
| Ingredient | Quantity | Notes |
|---|---|---|
| Quick Oats | 2 cups | Use rolled oats for a chewier texture |
| Puffed Rice | 1 cup | Ensure it is fresh for maximum crunch |
| Chopped Nuts | 1/2 cup | Walnuts or almonds work best |
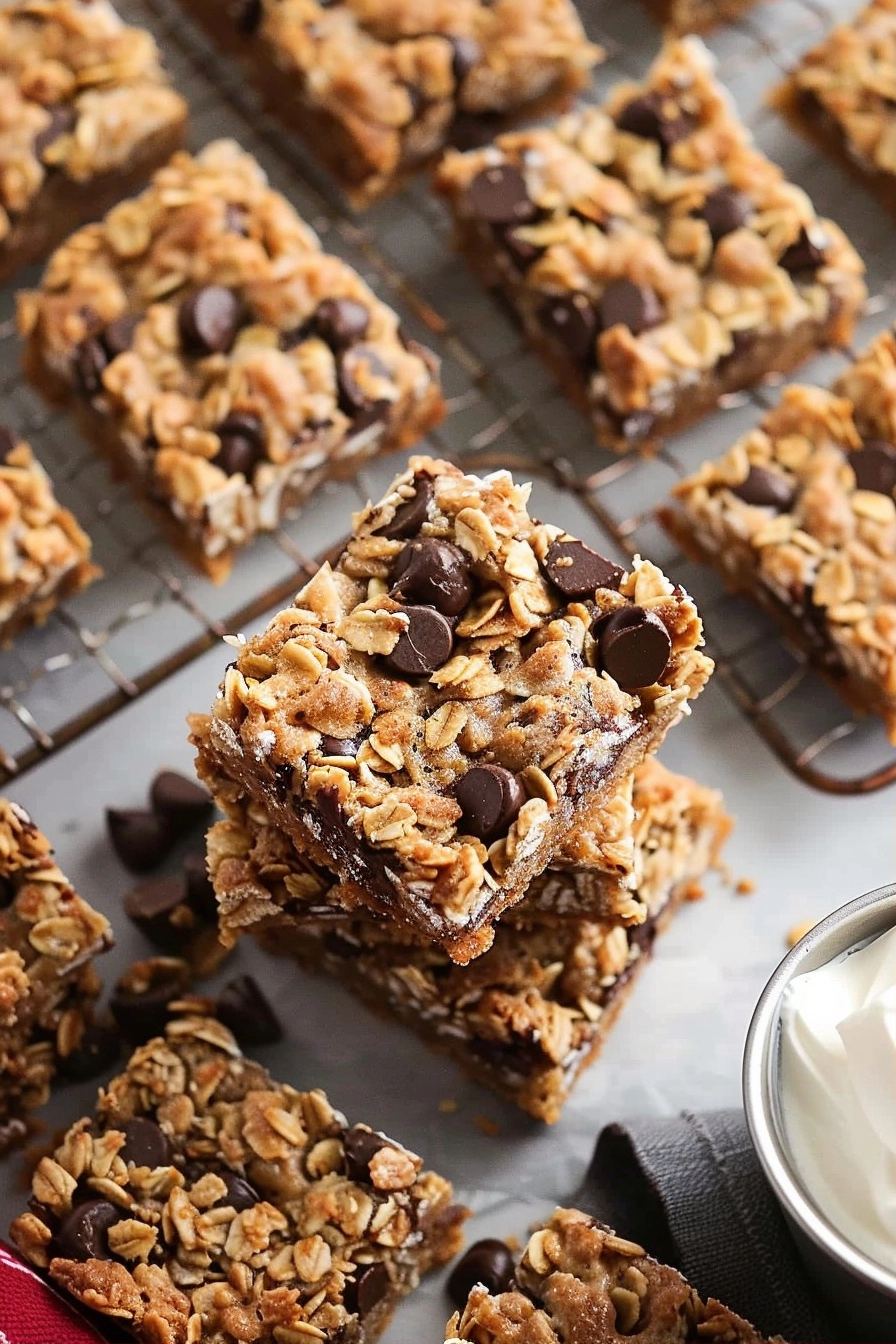
| Mini Chocolate Chips | 1/2 cup | Use dairy-free chips for vegan needs |
| Nut Butter | 1/3 cup | Almond or peanut butter are excellent |
| Honey | 1/2 cup | Maple syrup is a viable vegan swap |
| Coconut Oil | 1/4 cup | Refined coconut oil has a neutral taste |
Step-by-Step Instructions
Preparing the Base
- Combine the quick oats, puffed rice, chopped nuts, and mini chocolate chips in a large mixing bowl.
- Toss the dry ingredients thoroughly to ensure the chocolate chips and nuts distribute evenly.
Binding the Ingredients
- Melt the nut butter, honey, and coconut oil together in a small saucepan over low heat.
- Stir the mixture constantly until it becomes smooth and fully emulsified.
- Pour the warm liquid binder immediately over the dry oat mixture.
- Mix the ingredients together until every oat and piece of rice is thoroughly coated.
Setting and Finishing
- Press the mixture firmly into an 8-inch square baking pan lined with parchment paper.
- Chill the pan in the refrigerator for at least two hours until the bars are completely firm.
- Slice the block into twelve even rectangles using a sharp, warm knife.
Chef Tips for Perfect Results
- Press the mixture into the corners of your pan using the bottom of a measuring cup to ensure a uniform density.
- Toast your oats and nuts lightly in a dry skillet before mixing to deepen the earthy flavors.
- Wait until the binder mixture has cooled slightly before adding the chocolate chips to prevent premature melting.
- Line your pan with a long piece of parchment paper to create handles for easy removal after chilling.
Common Mistakes to Avoid
- Not pressing the mixture firmly enough causes the bars to crumble during slicing; use significant pressure to ensure they hold together.
- Using hot liquid binder immediately often melts the chocolate chips into the mixture; wait for the liquid to cool to room temperature.
- Over-cooking the binder mixture makes the bars rock hard; pull the saucepan off the heat as soon as the ingredients are combined.
- Skipping the chilling phase leads to sticky bars; allow at least two full hours in the refrigerator for the coconut oil to solidify.
Variations and Substitutions
| Ingredient | Substitution | Impact on Flavor |
|---|---|---|
| Honey | Maple Syrup | Adds a deep, woody sweetness |
| Nut Butter | Sunflower Seed Butter | Provides a nut-free, allergy-friendly option |
| Mini Chips | Dried Cranberries | Introduces a tart, chewy fruit contrast |
Serving Suggestions and Pairings
Serve these bars alongside a glass of cold almond milk or a hot cup of black tea for an afternoon boost. They make a fantastic addition to school lunch boxes or gym bags when you need an energy-dense snack that holds its shape. For special occasions, drizzle the tops with a little extra melted chocolate or a pinch of flaky sea salt.
Storage and Reheating
| Method | Duration | Instructions |
|---|---|---|
| Refrigerator | 2 weeks | Keep in an airtight container between parchment sheets |
| Freezer | 3 months | Wrap individually to prevent freezer burn |
Nutritional Information
| Nutrient | Amount per Serving |
|---|---|
| Calories | 185 kcal |
| Protein | 4g |
| Fat | 9g |
| Carbohydrates | 22g |
| Fiber | 2g |
| Sugar | 11g |
Approximate values.
Frequently Asked Questions
Can I make these bars without nuts?
Yes, you can substitute the chopped nuts with pumpkin seeds or sunflower seeds to make them nut-free. This change maintains the essential crunch without introducing allergens into your recipe.
How do I know when the bars are done chilling?
The bars are done when the surface feels solid and cold to the touch. Pressing the center should show no give or stickiness, indicating the coconut oil has fully set the structure.
Why did my bars fall apart when I sliced them?
Falling apart typically occurs because the dry-to-wet ratio was off or the mixture was not packed tightly enough. Ensure you measure your oats accurately and use sufficient downward pressure during the assembly stage.
Can I assemble these bars ahead of time?
You can definitely make these bars days in advance and keep them stored in the refrigerator. They actually maintain their texture best when kept cold until just before serving.
What is the best way to cut the bars cleanly?
Using a large, sharp knife that has been run under hot water and wiped dry produces the cleanest cuts. A warm blade slices through the chocolate and solid coconut oil without cracking the edges.
These chewy granola cookie bars deliver reliable, sustained energy and satisfy sweet cravings with wholesome ingredients. By focusing on the quality of your oats and ensuring a firm pack, you create a professional-grade snack in your own kitchen. Enjoy the ease and versatility of this simple recipe whenever you need a quick, nutritious bite to power your day.