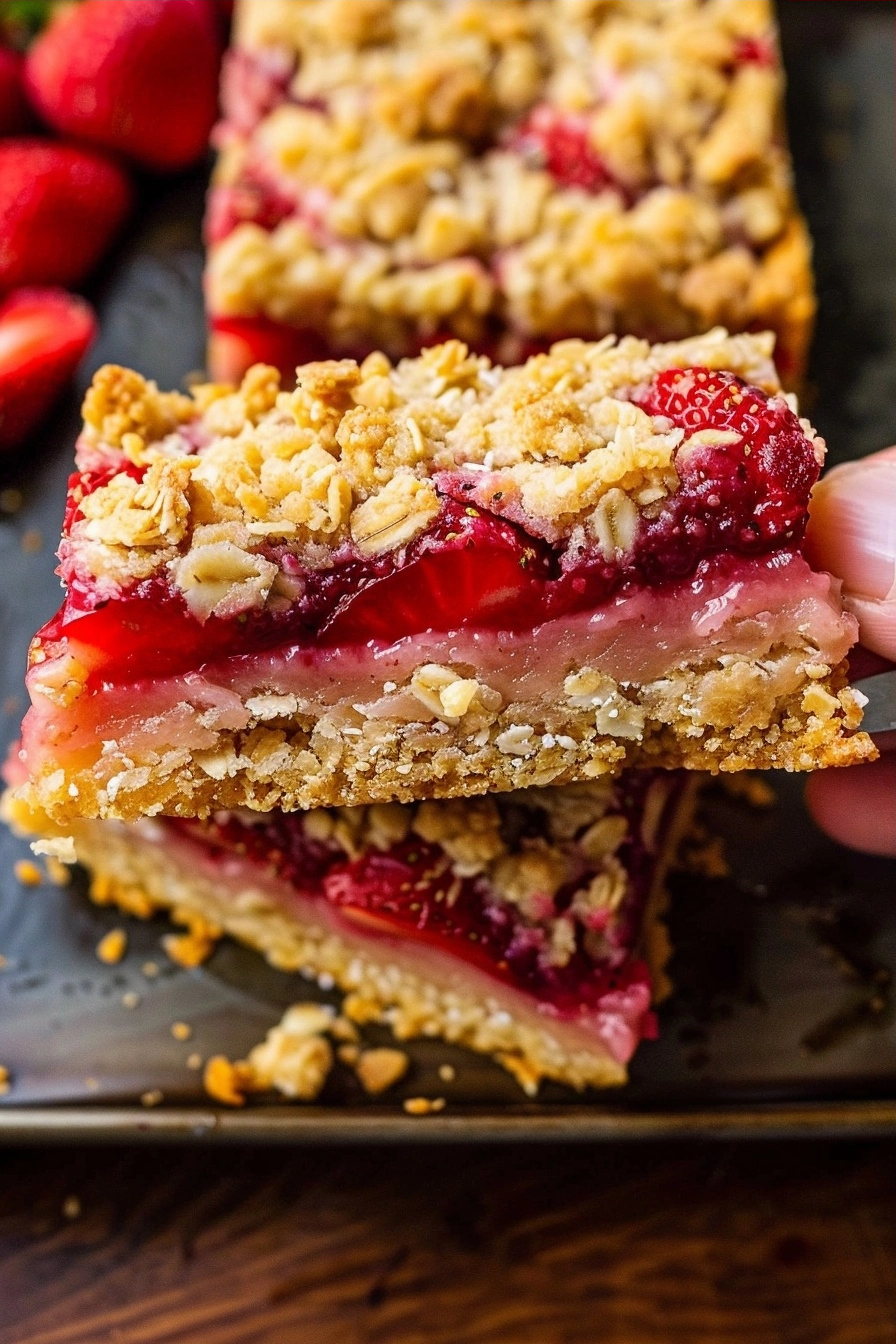
Strawberry crumble bars provide a perfect combination of a buttery oat crust, fresh fruit filling, and a crunchy crumble topping. These handheld treats offer a vibrant taste of summer using simple pantry staples like flour, oats, sugar, and fresh berries. They serve as a reliable dessert for family gatherings, potlucks, or casual afternoon snacks whenever you need a sweet, fruit-forward indulgence.
Recipe Overview
| Attribute | Details |
|---|---|
| Prep Time | 15 minutes |
| Cook Time | 40 minutes |
| Total Time | 55 minutes |
| Servings | 12 bars |
| Difficulty | Easy |
| Cuisine | American |
Why This Recipe Works
This recipe achieves consistent success by balancing the tartness of fresh strawberries with the sweetness of granulated sugar. I developed this method after testing various ratios of oats to flour to ensure the crust remains sturdy enough to hold the fruit while still feeling crumbly and light. You will appreciate how the lemon juice brightens the strawberry flavor profile without overpowering the natural sweetness of the berries.
You can rely on this formula because it uses common ingredients that you likely already have in your pantry. The dual use of the crust mixture as both the base and the topping streamlines the process significantly. This approach reduces cleanup time while ensuring a uniform texture across every bite. The results are consistently chewy, crunchy, and packed with fruit density.
Ingredients
| Ingredient | Quantity | Notes |
|---|---|---|
| All-purpose flour | 1.5 cups | Can substitute with gluten-free flour blend. |
| Old-fashioned oats | 1.5 cups | Do not use quick-cooking oats for this recipe. |
| Granulated sugar | 1 cup | Adjust based on strawberry sweetness. |
| Unsalted butter | 1 cup | Must be melted or softened for easy mixing. |
| Fresh strawberries | 3 cups | Dice into small, uniform pieces. |
| Cornstarch | 2 tablespoons | Essential for thickening the fruit juices. |
| Lemon juice | 1 tablespoon | Adds brightness and balances sugar. |
Step-by-Step Instructions
Preparing the Dough
- Preheat your oven to 375 degrees Fahrenheit.
- Line a 9×9 inch square baking pan with parchment paper for easy removal.
- Combine the flour, oats, and sugar in a large mixing bowl until evenly distributed.
- Pour the melted butter over the dry mixture and stir until large crumbs form.
- Press two-thirds of the mixture into the bottom of your prepared baking pan.
Assembling the Bars
- Toss the diced strawberries with cornstarch and lemon juice in a separate bowl.
- Spread the strawberry mixture evenly over the pressed crust in the pan.
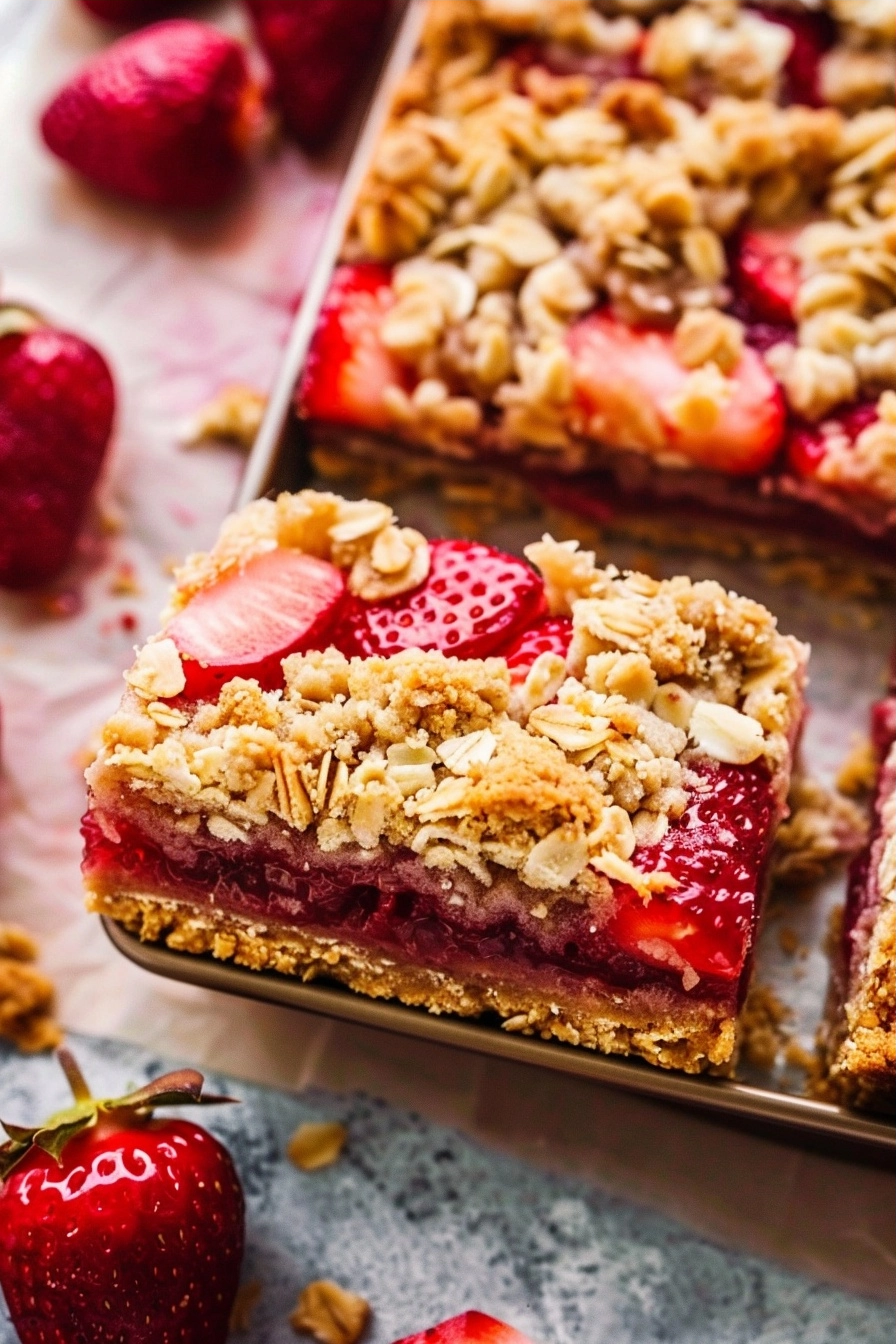
- Sprinkle the remaining crumble mixture over the strawberry layer, covering the fruit completely.
- Bake for 35 to 40 minutes until the top turns golden brown and fruit bubbles.
- Cool the bars completely in the pan before slicing into squares for serving.
Chef Tips for Perfect Results
- Use cold parchment paper clips to keep the paper in place while pressing the crust.
- Dice your strawberries into uniform pieces to ensure they cook at the same rate.
- Allow the bars to cool to room temperature before placing them in the refrigerator to set.
- If your strawberries are exceptionally tart, increase the sugar in the fruit mixture by one tablespoon.
- Do not overpack the crust layer; press it just enough to cover the bottom of the pan evenly.
Common Mistakes to Avoid
Many home cooks fail to cool the bars completely before slicing, which causes the fruit layer to seep out. Always wait at least two hours to ensure the cornstarch has fully set the juices. Another mistake is using quick-cooking oats, which creates a mushy texture rather than the desired satisfying crunch. Use only old-fashioned rolled oats for the best mouthfeel. Finally, failing to grease or line your pan leads to stuck edges; parchment paper is the safest bet.
Variations and Substitutions
| Ingredient | Substitution | Impact on Flavor |
|---|---|---|
| Strawberries | Blueberries | Changes to a deeper, earthy sweetness. |
| Butter | Coconut oil | Adds a subtle tropical hint. |
| Sugar | Brown sugar | Increases chewiness and adds caramel notes. |
Serving Suggestions and Pairings
These bars pair beautifully with a scoop of vanilla bean ice cream or a dollop of fresh whipped cream. They serve as an ideal centerpiece for summer picnics or brunch events when served chilled. You can also offer them alongside unsweetened hot tea to balance the sugar levels of the fruit dessert.
Storage and Reheating
| Method | Duration | Instructions |
|---|---|---|
| Countertop | 2 days | Keep in an airtight container at room temperature. |
| Refrigerator | 5 days | Store in a sealed container to maintain freshness. |
| Freezer | 3 months | Wrap tightly and freeze for long-term storage. |
Nutritional Information
| Nutrient | Amount per Serving |
|---|---|
| Calories | 240 kcal |
| Fat | 10g |
| Carbohydrates | 35g |
| Protein | 3g |
| Sugar | 18g |
Values are approximate and based on standard nutritional data.
Frequently Asked Questions
Can I use frozen strawberries for this recipe?
Yes, you can use frozen strawberries if you thaw and drain them well before mixing with cornstarch. Excess liquid from frozen fruit can make the crust soggy during baking.
How do I know when they are fully baked?
The bars are ready when the edges of the crust are golden brown and the fruit filling appears bubbly. A toothpick inserted into the crust portion should come out clean.
Can these be made ahead of time?
These bars are excellent when made one day in advance, as the flavors meld together perfectly. Keep them at room temperature in an airtight container until you are ready to serve.
Why did my bars fall apart when sliced?
The bars will crumble if sliced while still warm because the cornstarch needs to cool to set the filling. Always slice the bars after they have reached room temperature or spent time in the refrigerator.
Can I make these gluten-free?
Yes, you can substitute the all-purpose flour with a certified gluten-free flour blend. Ensure your oats are labeled gluten-free to accommodate dietary needs.
Mastering these strawberry crumble bars requires minimal effort for maximum flavor reward. By adhering to the cooling times and using quality fresh fruit, you produce a dessert that satisfies everyone. Enjoy the process of baking this simple treat and share it with those you love. The bright, sweet profile of the berries makes this a classic addition to your recipe collection.
PrintStrawberry Crumble Bars
These delightful strawberry crumble bars feature a buttery oat crust layered with a fresh, vibrant strawberry filling and topped with a crunchy oat crumble. Perfect for potlucks or afternoon snacks, this easy-to-make treat balances the natural tartness of fresh berries with a golden, crisp texture. Using pantry staples, these bars provide a satisfying, fruit-forward indulgence that is both sturdy enough for sharing and light enough to enjoy anytime. They are a reliable, handheld dessert that captures the essence of summer in every bite.
- Prep Time: 15
- Cook Time: 40
- Total Time: 55
- Yield: 12 bars
- Category: Deserts
- Method: Baking
- Cuisine: American
- Diet: Vegetarian
Ingredients
1.5 cups all-purpose flour
1.5 cups old-fashioned oats
1 cup granulated sugar
1 cup unsalted butter, melted
3 cups fresh strawberries, diced
2 tablespoons cornstarch
1 tablespoon lemon juice
Instructions
Preheat your oven to 375 degrees Fahrenheit.
Line a 9×9 inch square baking pan with parchment paper.
Combine the flour, oats, and sugar in a large mixing bowl.
Pour the melted butter over the dry mixture and stir until large crumbs form.
Press two-thirds of the mixture into the bottom of the prepared baking pan.
In a separate bowl, toss the diced strawberries with cornstarch and lemon juice.
Spread the strawberry mixture evenly over the pressed crust.
Sprinkle the remaining one-third of the oat mixture over the top.
Bake for 40 minutes or until the topping is golden brown and the fruit is bubbling.
Cool completely before slicing into bars.
Notes
Ensure you do not use quick-cooking oats to maintain the desired texture. You can substitute the flour with a gluten-free blend if needed. Store bars in an airtight container in the refrigerator for up to 3 days.