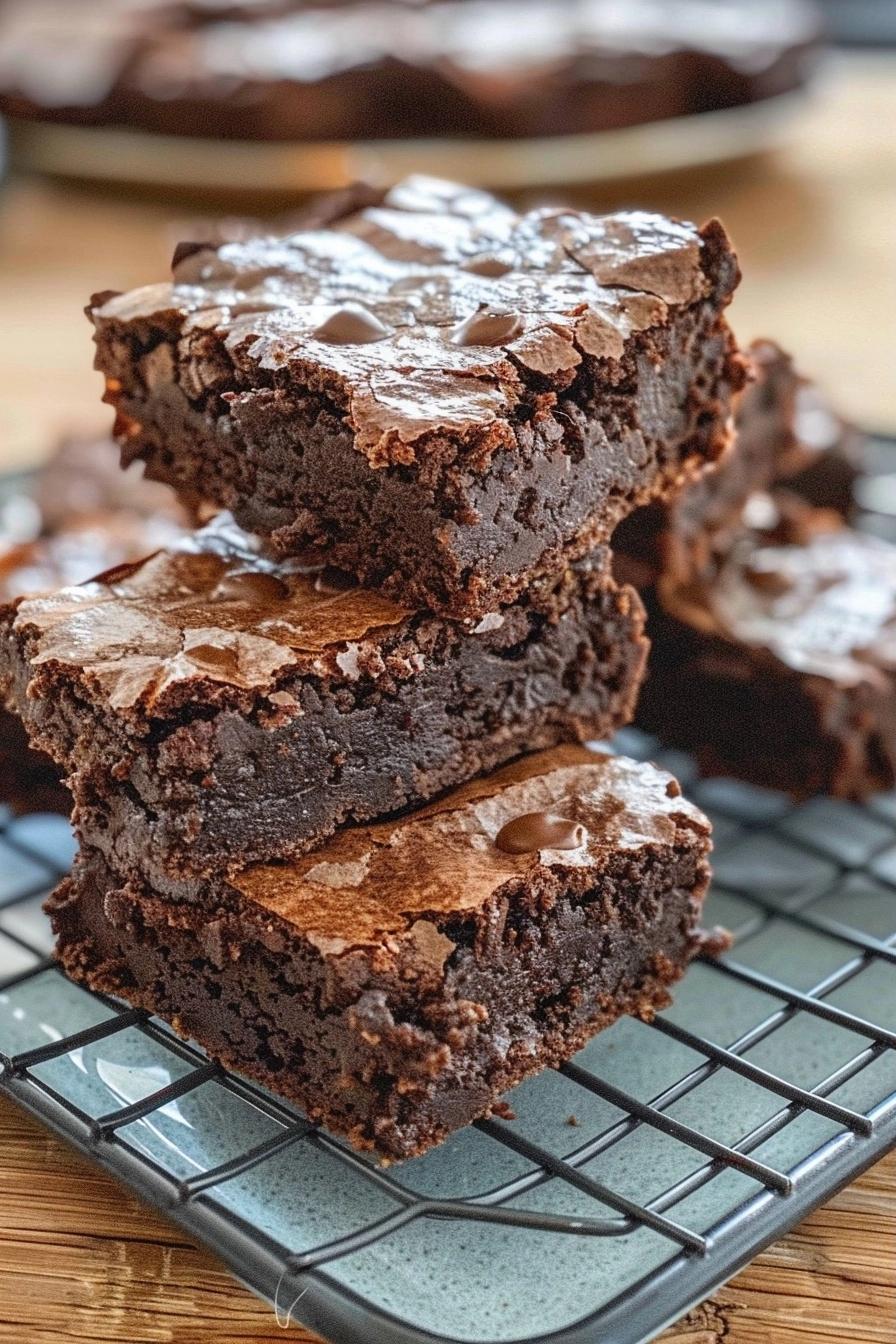
Lunchbox brownies are the ultimate portable dessert featuring a rich, chocolatey density that holds up perfectly for school or work snacks. These homemade treats rely on high-quality cocoa powder and melted butter to achieve a signature fudgy texture that store-bought alternatives simply cannot match. Every batch provides a consistent and satisfying cocoa flavor profile that appeals to both children and adults alike.
Recipe Overview
| Prep Time | 10 minutes |
|---|---|
| Cook Time | 25 minutes |
| Total Time | 35 minutes |
| Servings | 9 squares |
| Difficulty | Easy |
| Cuisine | American |
Why This Recipe Works
I developed this recipe specifically to solve the problem of dry, crumbly baked goods that disintegrate before lunch break. By using melted butter instead of cold, creaming-focused butter, we ensure a dense crumb structure that remains moist for days when stored in an airtight container.
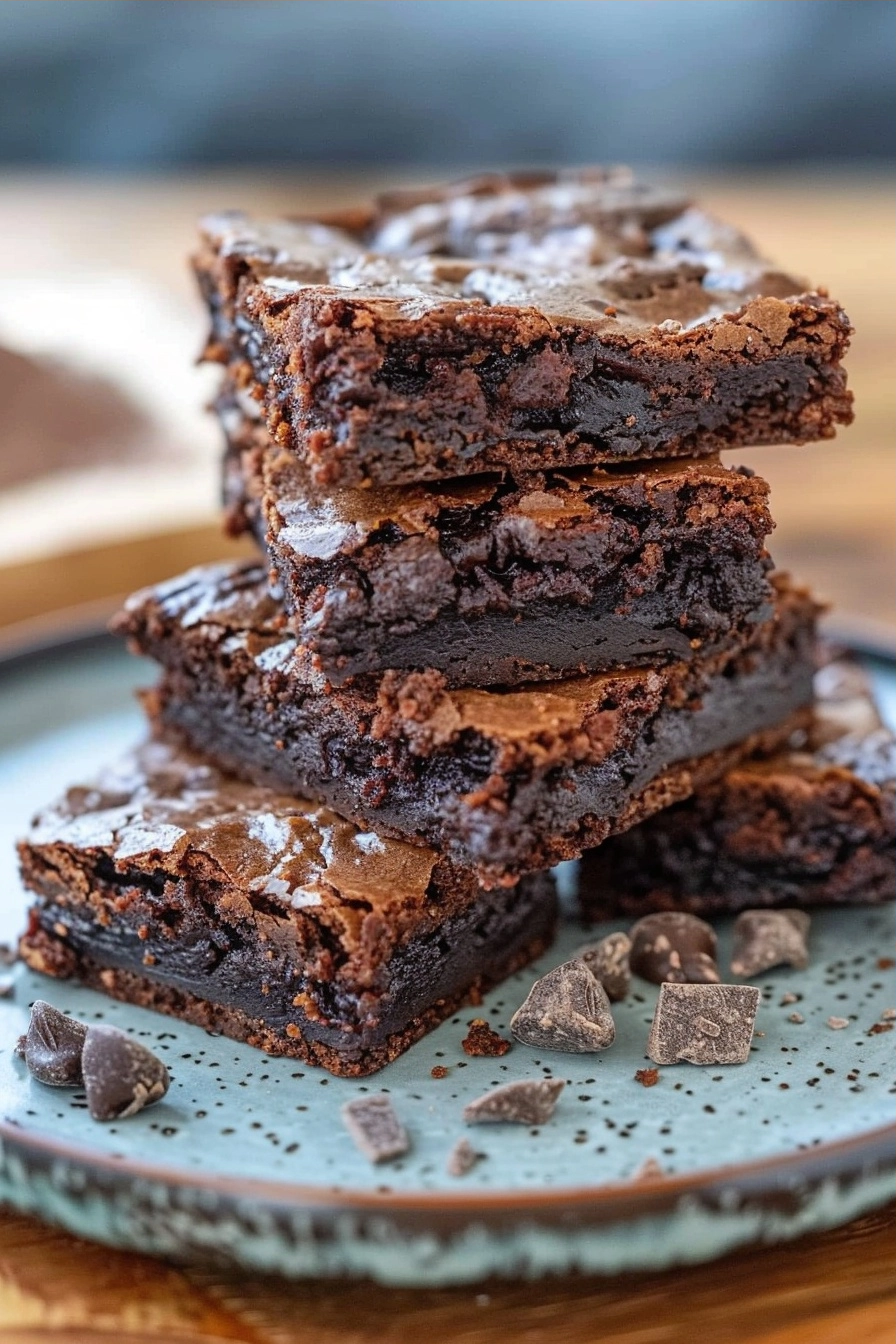
These brownies rely on basic pantry staples, making them a reliable option when you need a quick dessert on short notice. I personally find that the inclusion of extra chocolate chips creates distinct pockets of intense cocoa, providing a gourmet finish that elevates a standard snack into a special treat.
Ingredients
| Ingredient | Quantity | Notes |
|---|---|---|
| Unsalted butter | 1/2 cup | Melted and slightly cooled |
| Granulated sugar | 1 cup | Can use light brown sugar for chewiness |
| Large eggs | 2 | Room temperature |
| Vanilla extract | 1 tsp | Pure extract preferred |
| All-purpose flour | 3/4 cup | Sifted to remove lumps |
| Cocoa powder | 1/2 cup | Unsweetened Dutch-processed |
| Baking powder | 1/2 tsp | Ensures slight lift |
| Salt | 1/4 tsp | Balances sweetness |
| Chocolate chips | 1/2 cup | Semi-sweet or dark |
Step-by-Step Instructions
Preparation and Mixing
- Preheat your oven to 350°F (175°C) and grease an 8×8 inch baking pan with butter or non-stick spray.
- Whisk the melted butter and granulated sugar together in a large mixing bowl until the mixture is smooth.
- Add the eggs and vanilla extract to the bowl, beating the mixture vigorously until the color lightens slightly.
Combining Dry Ingredients
- Sift the all-purpose flour, cocoa powder, baking powder, and salt together into a separate container to ensure even distribution.
- Fold the dry ingredients into the wet mixture using a silicone spatula until just combined, avoiding over-mixing the batter.
- Stir in the chocolate chips gently, ensuring they are evenly dispersed throughout the dense batter.
Baking Process
- Pour the batter into your prepared pan and smooth the top with your spatula for an even surface.
- Bake for 20 to 25 minutes or until a toothpick inserted into the center comes out with moist crumbs attached.
- Cool the brownies completely in the pan before cutting them into squares to prevent crumbling during the slicing process.
Chef Tips for Perfect Results
- Use high-quality cocoa powder as it defines the primary flavor profile of your brownies.
- Line your baking pan with parchment paper to allow for easy removal of the entire block before slicing.
- Avoid overbaking the brownies because the residual heat in the pan will finish the cooking process once removed.
- Wait for the brownies to cool completely before slicing to ensure clean, sharp edges on every square.
Common Mistakes to Avoid
- Mixing for too long leads to a cake-like texture rather than the desired fudgy consistency.
- Substituting the wrong type of flour will ruin the density and moisture retention of the brownies.
- Opening the oven door frequently releases heat, which causes the brownies to bake unevenly.
- Using cold eggs will cause the melted butter to solidify prematurely, resulting in a lumpy batter.
Variations and Substitutions
| Ingredient | Substitution | Impact on Flavor |
|---|---|---|
| Chocolate chips | Walnuts or pecans | Adds crunch and nutty profile |
| White sugar | Brown sugar | Increases chewiness and caramel notes |
| Vanilla extract | Almond extract | Provides a subtle floral undertone |
Serving Suggestions and Pairings
Lunchbox brownies pair beautifully with a glass of cold milk or fresh strawberries for a balanced lunch dessert. For an after-school snack, serve them slightly warmed with a small dollop of whipped cream or a dusting of powdered sugar. They also hold up well as a standalone snack during outdoor picnics or office afternoon breaks.
Storage and Reheating
| Method | Duration | Instructions |
|---|---|---|
| Countertop | 3 days | Store in an airtight container |
| Freezer | 3 months | Wrap individually in plastic wrap |
Nutritional Information
Approximate values per serving (based on 9 servings).
| Nutrient | Amount |
|---|---|
| Calories | 210 |
| Fat | 10g |
| Carbohydrates | 28g |
| Protein | 3g |
Frequently Asked Questions
Can I use gluten-free flour for these brownies?
Yes, you can substitute a 1:1 gluten-free baking blend, provided it contains xanthan gum for structure. Ensure you mix the batter thoroughly to compensate for the different hydration properties of rice or almond-based flours.
How do I know when the brownies are done?
The brownies are done when a toothpick inserted into the center comes out with a few moist crumbs still attached. You do not want a perfectly clean toothpick, as this indicates the brownies are already overbaked and dry.
Why did my brownies turn out cakey?
Cakey brownies occur when there is too much air whipped into the batter or too much flour is added to the mixture. Stick to using a spatula to fold the ingredients gently rather than using a high-speed electric mixer.
Can I prepare the batter in advance?
Yes, you can keep the brownie batter in the refrigerator for up to 24 hours before baking. Just be aware that the batter will thicken significantly, so you may need an extra minute or two of baking time.
Are these suitable for school lunch programs?
These brownies are excellent for school lunches as they contain no nuts or restricted allergens when prepared with standard ingredients. Always double-check your local school district guidelines regarding food safety and allergens before sending them in.
Mastering these lunchbox brownies provides a dependable solution for quick, delicious desserts that satisfy any chocolate craving. By following the cooling and mixing guidelines, you ensure that every square retains its signature texture. Enjoy the process of baking these simple, effective treats and sharing them with family and friends.
PrintLunchbox Brownies
These lunchbox brownies are the ultimate portable dessert, featuring a rich, dense, and chocolatey texture that stays moist for days. Crafted with high-quality cocoa powder and melted butter, they provide a satisfying snack for school or work. The addition of semi-sweet chocolate chips ensures pockets of intense flavor in every bite, making them a perfect, reliable treat for any chocolate lover.
- Prep Time: 10
- Cook Time: 25
- Total Time: 35
- Yield: 9 squares
- Category: Deserts
- Method: Baking
- Cuisine: American
- Diet: Vegetarian
Ingredients
1/2 cup unsalted butter, melted and slightly cooled
1 cup granulated sugar
2 large eggs, room temperature
1 tsp pure vanilla extract
3/4 cup all-purpose flour, sifted
1/2 cup unsweetened Dutch-processed cocoa powder
1/2 tsp baking powder
1/4 tsp salt
1/2 cup semi-sweet or dark chocolate chips
Instructions
Preheat your oven to 350°F (175°C) and grease an 8×8 inch baking pan.
Whisk the melted butter and granulated sugar together in a large mixing bowl until smooth.
Add the eggs and vanilla extract to the bowl, beating vigorously until the color lightens.
Sift the flour, cocoa powder, baking powder, and salt together into a separate container.
Fold the dry ingredients into the wet mixture using a spatula until just combined, being careful not to over-mix.
Stir in the chocolate chips.
Pour the batter into the prepared pan and spread evenly.
Bake for 25 minutes or until a toothpick inserted into the center comes out with a few moist crumbs.
Cool completely in the pan before cutting into 9 squares.
Notes
Store in an airtight container at room temperature to keep the brownies moist for several days. Using light brown sugar instead of granulated can add a chewier texture to the finished brownies.