No-bake peanut butter pie provides a rich, velvety texture perfect for any occasion without requiring oven time. This classic dessert combines savory peanut butter with smooth cream cheese and sweet whipped topping for a balanced flavor profile. Busy home cooks value this recipe because it sets firmly in the refrigerator while requiring minimal active effort to prepare.
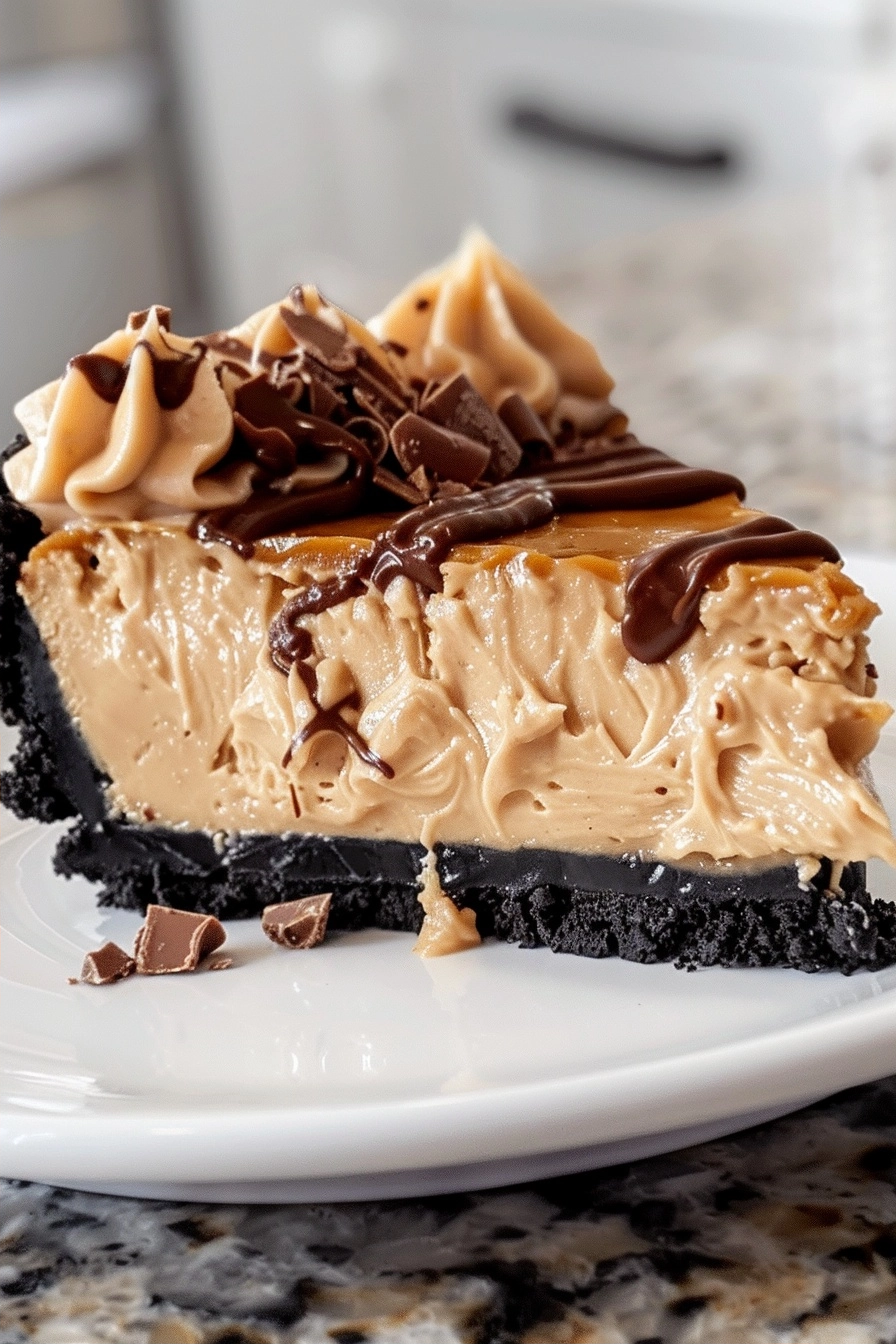
Recipe Overview
| Prep Time | 15 minutes |
| Cook Time | 0 minutes |
| Total Time | 4 hours (chilling) |
| Servings | 8 slices |
| Difficulty | Easy |
| Cuisine | American |
Why This Recipe Works
This recipe excels because it relies on the natural structure of cream cheese and peanut butter to create a dense, mousse-like consistency. I have found that using a standard commercial creamy peanut butter ensures the smoothest emulsion, avoiding the gritty texture sometimes caused by natural varieties that separate.
The balance of sugar and fat allows this pie to slice cleanly after cooling, making it a reliable choice for dinner parties. Unlike baked desserts that require precise temperature monitoring, this chilled treat remains foolproof for beginners.
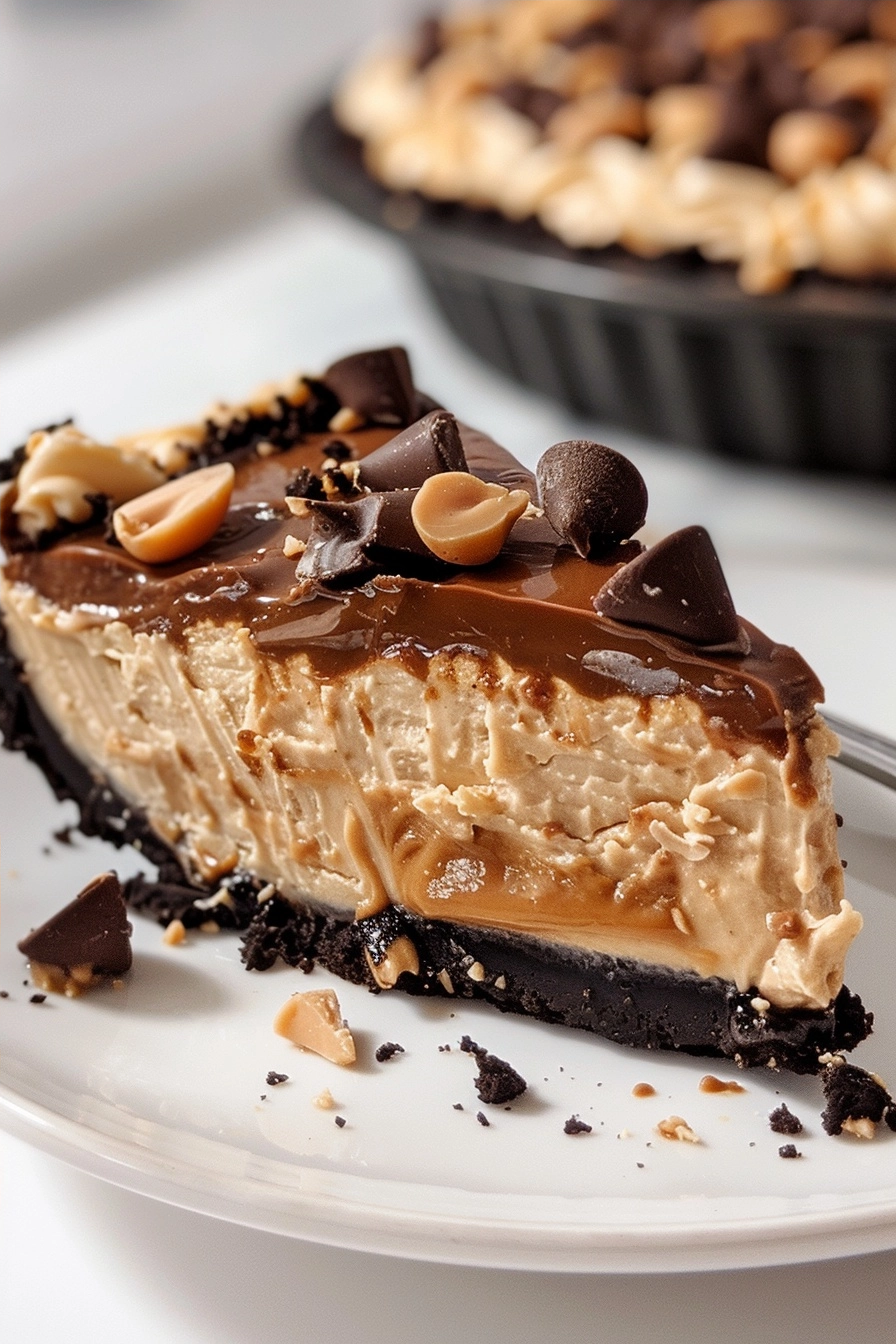
Ingredients
| Ingredient | Quantity | Notes |
| Cream Cheese | 8 oz | Softened to room temperature |
| Peanut Butter | 1 cup | Smooth variety is essential |
| Powdered Sugar | 1 cup | Sifted for lump-free texture |
| Whipped Topping | 8 oz | Thawed fully |
| Vanilla Extract | 1 tsp | Adds depth |
| Milk | 2-4 tbsp | Thin as needed |
| Pie Crust | 1 count | 9-inch graham cracker |
Step-by-Step Instructions
Mixing the Filling
- Combine the softened cream cheese and creamy peanut butter in a large mixing bowl using an electric hand mixer.
- Beat the mixture on medium speed until the consistency appears completely smooth and uniform.
- Add the powdered sugar and vanilla extract to the peanut butter base, beating until fully incorporated.
- Adjust the thickness of the batter by adding milk one tablespoon at a time if the mixture feels too stiff.
- Fold the thawed whipped topping into the peanut butter mixture gently using a silicone spatula to maintain volume.
Assembling the Pie
- Spread the finished filling evenly into the prepared 9-inch graham cracker crust using an offset spatula.
- Smooth the top surface to ensure an even distribution for professional presentation.
- Chill the pie in the refrigerator for at least four hours to allow the structure to firm up before slicing.
- Decorate the surface with chopped peanuts, mini peanut butter cups, or chocolate syrup right before serving.
Chef Tips for Perfect Results
- Ensure your cream cheese reaches room temperature before mixing to prevent unwanted lumps in your filling.
- Fold the whipped topping into the base manually rather than using a mixer to keep the mixture airy.
- Use an offset spatula to achieve a clean, smooth top layer for a professional bakery appearance.
- Keep the pie in the coldest part of your refrigerator to ensure it maintains its shape while slicing.
Common Mistakes to Avoid
Over-mixing the whipped topping will cause the filling to deflate and lose its airy texture. Fold carefully until just combined to retain the necessary volume. Using natural peanut butter often results in an oily or separated pie because of the lack of stabilizers found in standard commercial brands. Stick to conventional smooth peanut butter for the most stable result. Failing to chill the pie long enough leads to a runny mess. Ensure at least four hours of refrigeration time to allow the fats to solidify properly.
Variations and Substitutions
| Ingredient | Substitution | Impact on Flavor |
| Graham Crust | Oreo Crust | Adds chocolate intensity |
| Peanut Butter | Almond Butter | Nutty but slightly earthier |
| Whipped Topping | Heavy Whipping Cream | Richer, more natural taste |
Serving Suggestions and Pairings
Serve this dessert alongside a hot cup of black coffee or unsweetened tea to balance the sweetness of the filling. It makes an excellent addition to summer potlucks, birthday celebrations, or casual weekend gatherings with friends. For a decadent finish, add a dollop of fresh whipped cream and a drizzle of warm chocolate ganache.
Storage and Reheating
| Method | Duration | Instructions |
| Refrigerator | 3-4 days | Keep tightly covered in plastic wrap |
| Freezer | 2 weeks | Freeze solid then wrap in foil |
Nutritional Information
Approximate values per serving.
| Nutrient | Amount |
| Calories | 420 kcal |
| Fat | 28g |
| Sugar | 32g |
| Protein | 9g |
Frequently Asked Questions
Can I use natural peanut butter for this recipe?
Natural peanut butter should not be used as it lacks the stabilizers required to keep the pie set correctly. Stick to standard processed creamy peanut butter for the best structural results.
How do I know when the pie is fully set?
The pie is fully set when the filling feels firm to the touch and does not sag when you tilt the pan slightly. Refrigerate for at least four hours to ensure success.
Why is my filling lumpy?
Lumpy filling typically results from using cold cream cheese that did not blend properly with the peanut butter. Always soften your cream cheese to room temperature before beginning the mixing process.
Can I make this dessert in advance?
You can make this dessert up to two days in advance for the best taste and texture. Cover it tightly with plastic wrap to prevent the filling from absorbing other odors in your refrigerator.
What is the best way to slice the pie?
Run your knife under warm water and wipe it dry between each slice for clean edges. This prevents the sticky filling from dragging across the crust.
Conclusion
No-bake peanut butter pie remains a staple for anyone desiring a quick yet impressive dessert. By following these steps, you ensure a creamy, stable treat that delights guests at any event. Master this recipe to guarantee a delicious experience with every single bite. Embrace the simplicity of this no-bake method for all your future dessert needs.
PrintNo-Bake Peanut Butter Pie
Indulge in a rich, velvety no-bake peanut butter pie that is as simple to make as it is delicious. This decadent dessert blends creamy peanut butter, smooth cream cheese, and light whipped topping into a stable, mousse-like filling nestled in a crunchy graham cracker crust. Perfectly balanced and effortless, this chilled pie is a foolproof treat for any dinner party or busy weeknight craving. No oven is required for this elegant, crowd-pleasing dessert that sets firmly in the refrigerator for a clean, professional slice every time.
- Prep Time: 15
- Total Time: 240
- Yield: 8 slices
- Category: All Recipes
- Method: No-bake
- Cuisine: American
- Diet: Vegetarian
Ingredients
8 oz cream cheese, softened to room temperature
1 cup smooth peanut butter
1 cup powdered sugar, sifted
8 oz whipped topping, thawed
1 tsp vanilla extract
2-4 tbsp milk
1 count 9-inch graham cracker pie crust
Instructions
Combine the softened cream cheese and creamy peanut butter in a large mixing bowl using an electric hand mixer.
Beat the mixture on medium speed until the consistency appears completely smooth and uniform.
Add the powdered sugar and vanilla extract to the peanut butter base, beating until fully incorporated.
Adjust the thickness of the batter by adding milk one tablespoon at a time if the mixture feels too stiff.
Fold the thawed whipped topping into the peanut butter mixture gently using a silicone spatula to maintain volume.
Spread the finished filling evenly into the prepared 9-inch graham cracker crust using an offset spatula.
Smooth the top surface to ensure an even distribution for professional presentation.
Chill the pie in the refrigerator for at least four hours to allow the structure to firm up before slicing.
Notes
Ensure your cream cheese is at room temperature to avoid lumps in your filling. Use a commercial smooth peanut butter rather than natural peanut butter to prevent the filling from becoming gritty or separating. The pie can be garnished with chocolate shavings or extra crushed graham crackers before serving.