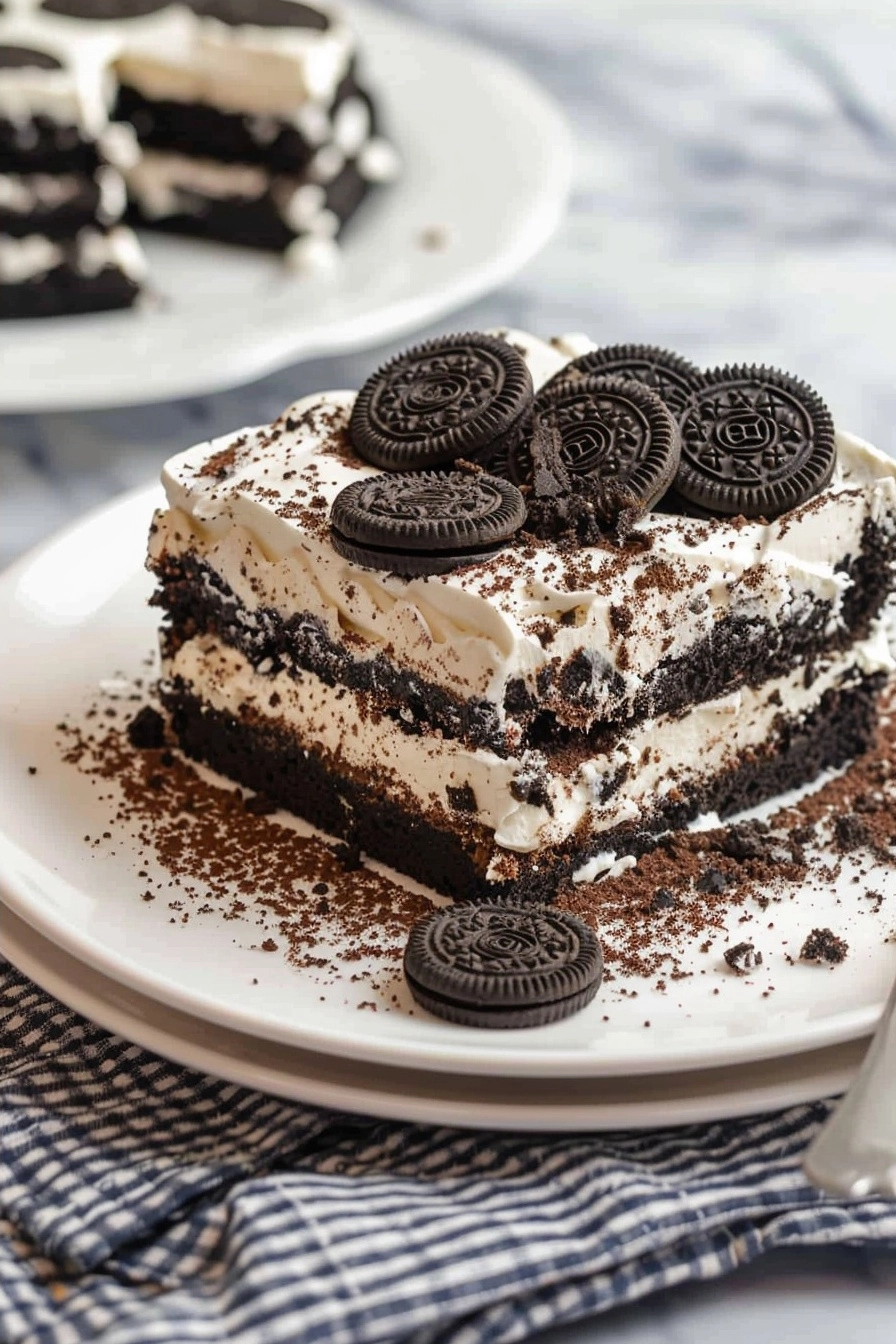
Oreo Icebox Cake is a decadent no-bake dessert featuring layers of crisp chocolate cookies and fluffy whipped cream that soften into a cake-like texture while chilling. This classic treat relies on a simple overnight refrigeration process to achieve its signature consistency without requiring an oven. Families enjoy this crowd-pleasing dessert because it balances intense cocoa flavors with the light, airy sweetness of freshly whipped cream.
Recipe Overview
| Prep Time | 15 minutes |
|---|---|
| Cook Time | 0 minutes |
| Total Time | 6 hours 15 minutes |
| Servings | 12 servings |
| Difficulty | Easy |
| Cuisine | American |
Why This Recipe Works
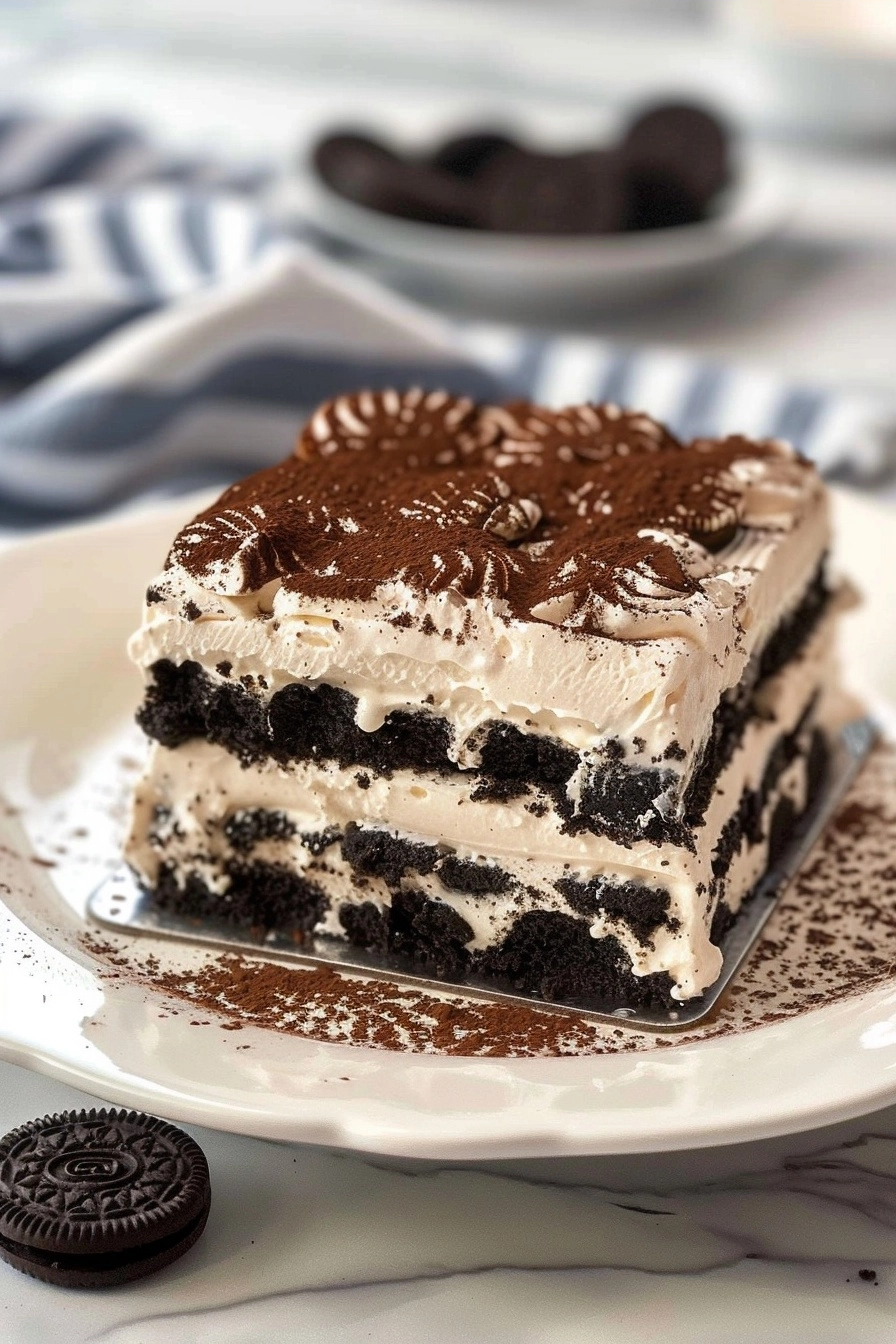
I find that the magic of this dessert lies in the osmosis between the cream and the cookies. As the heavy cream seeps into the porous Oreo layers, the cookies transform from crunchy discs into a delicate sponge that yields easily to a fork.
This recipe works because it relies on minimal, high-quality ingredients to create a sophisticated result. You do not need complex baking techniques or specialized equipment to achieve a dessert that looks like it came from a professional bakery. It serves as the ultimate make-ahead solution for busy hosts.
Ingredients
| Ingredient | Quantity | Notes |
|---|---|---|
| Oreo cookies | 36 cookies | Use classic variety for best results |
| Heavy whipping cream | 2 cups | Must be ice cold for proper volume |
| Powdered sugar | 1/4 cup | Sift to ensure a smooth cream texture |
| Pure vanilla extract | 1 teaspoon | Provides depth to the whipped cream |
Step-by-Step Instructions
Preparing the Whipped Cream
- Pour the cold heavy whipping cream into a large, chilled mixing bowl.
- Add the powdered sugar and pure vanilla extract to the cream.
- Beat the mixture on high speed until stiff peaks form and the cream holds its shape.
Assembling the Layers
- Spread a thin layer of whipped cream on the bottom of a 9-inch square baking dish.
- Arrange a layer of 12 Oreo cookies in three rows across the base.
- Top the cookies with one-third of the remaining whipped cream, smoothing it evenly to the edges.
- Repeat the cookie and cream layers two more times, finishing with a final layer of whipped cream.
- Cover the dish tightly with plastic wrap to ensure no odors from the refrigerator transfer to the cake.
- Refrigerate the dessert for at least 6 hours, or ideally overnight, to allow the cookies to soften fully.
Chef Tips for Perfect Results
- Chill your mixing bowl and beaters in the freezer for 15 minutes before whipping the cream for maximum volume.
- Ensure you use full-fat heavy whipping cream, as lower-fat alternatives will not provide the structural stability needed for the cake.
- Crush a few extra cookies and sprinkle them over the top right before serving for added texture and visual appeal.
- Slice the cake using a hot, dry knife to achieve clean lines and prevent the cream from dragging across the layers.
- Add a pinch of salt to the whipping cream to balance the sweetness of the cocoa and sugar.
Common Mistakes to Avoid
One major error is rushing the chilling process, which results in hard, crunchy cookies rather than a cake-like consistency. Always allow at least six hours of refrigeration time for the moisture transfer to occur. Another common mistake is over-whipping the cream, which causes it to turn into butter. Stop mixing immediately once stiff peaks stand straight up without drooping.
Variations and Substitutions
| Ingredient | Substitution | Impact on Flavor |
|---|---|---|
| Heavy Cream | Coconut cream | Adds a subtle tropical flavor profile |
| Oreo Cookies | Mint Oreos | Introduces a refreshing cooling effect |
| Vanilla Extract | Almond extract | Provides a nutty, sophisticated undertone |
Serving Suggestions and Pairings
Serve this cake alongside a hot cup of black coffee to contrast the rich creaminess. It functions beautifully as a birthday party staple or a festive addition to holiday gatherings. You can also garnish the plates with fresh raspberries to add a tart acidity that cuts through the intense chocolate sweetness.
Storage and Reheating
| Method | Duration | Instructions |
|---|---|---|
| Refrigerator | 3 days | Keep tightly covered in an airtight container |
| Freezer | 2 weeks | Wrap in plastic and foil, thaw in fridge before serving |
Nutritional Information
Approximate values per serving.
| Nutrient | Amount per Serving |
|---|---|
| Calories | 340 kcal |
| Fat | 22g |
| Carbohydrates | 36g |
| Protein | 3g |
Frequently Asked Questions
Can I use milk instead of heavy whipping cream?
You cannot use milk because it lacks the necessary fat content to whip into a stable structure. Heavy whipping cream is essential to hold the weight of the cookies and maintain the cake’s shape.
How do I fix a runny whipped cream mixture?
You can fix slightly runny cream by continuing to whip it on a low speed until it thickens. If the cream has fully separated into butter and liquid, you must restart with a fresh batch of cold heavy cream.
Is this cake suitable for making two days in advance?
This cake holds its texture perfectly for up to three days in the refrigerator. Making it 48 hours early often results in a more uniform texture where the cookies become completely indistinguishable from the cream layers.
Why are my cookies still hard after six hours?
Your cookies remain hard because the cream layer was likely too thick or the refrigeration temperature was not cold enough. Ensure your refrigerator is set to 40 degrees Fahrenheit or lower to facilitate proper softening.
Can I add fruit layers to the cake?
You can add thinly sliced strawberries or raspberries between the layers for a fresh flavor burst. Always pat the fruit dry thoroughly to prevent excess moisture from making the cake soggy.
Conclusion
Mastering the Oreo Icebox Cake provides you with a reliable dessert that impresses guests without requiring extensive oven time. By layering cold, stiff-peaked cream with chocolatey cookies, you create a seamless, indulgent experience. Prioritize high-quality ingredients and allow sufficient refrigeration to guarantee the perfect texture every time. Keep this recipe on hand for your next gathering to satisfy any sweet tooth with ease.
PrintClassic Oreo Icebox Cake
Indulge in this decadent, no-bake Oreo Icebox Cake, a crowd-pleasing dessert that perfectly balances rich cocoa flavors with light, airy whipped cream. By layering crisp cookies with freshly whipped cream and allowing them to set overnight, the cookies transform into a delicate, cake-like texture. It is an effortless, elegant make-ahead solution for any gathering, requiring no oven and minimal prep time for a bakery-quality result.
- Prep Time: 15
- Total Time: 375
- Yield: 12 servings
- Category: All Recipes
- Method: No-bake
- Cuisine: American
- Diet: Vegetarian
Ingredients
36 classic Oreo cookies
2 cups heavy whipping cream, ice cold
1/4 cup powdered sugar
1 teaspoon pure vanilla extract
Instructions
Pour the cold heavy whipping cream into a large, chilled mixing bowl.
Add the powdered sugar and pure vanilla extract to the cream.
Beat the mixture on high speed until stiff peaks form and the cream holds its shape.
Spread a thin layer of whipped cream on the bottom of a 9-inch square baking dish.
Arrange a layer of 12 Oreo cookies in three rows across the base.
Top the cookies with one-third of the remaining whipped cream, smoothing it evenly to the edges.
Repeat the cookie and cream layers two more times, finishing with a final layer of whipped cream.
Cover the dish tightly with plastic wrap.
Refrigerate the dessert for at least 6 hours, or ideally overnight, to allow the cookies to soften fully.
Notes
Chill your mixing bowl and beaters in the freezer for 15 minutes before whipping the cream for the best volume. Ensure the cake is covered well to prevent it from absorbing refrigerator odors. Store in the refrigerator for up to 3 days.