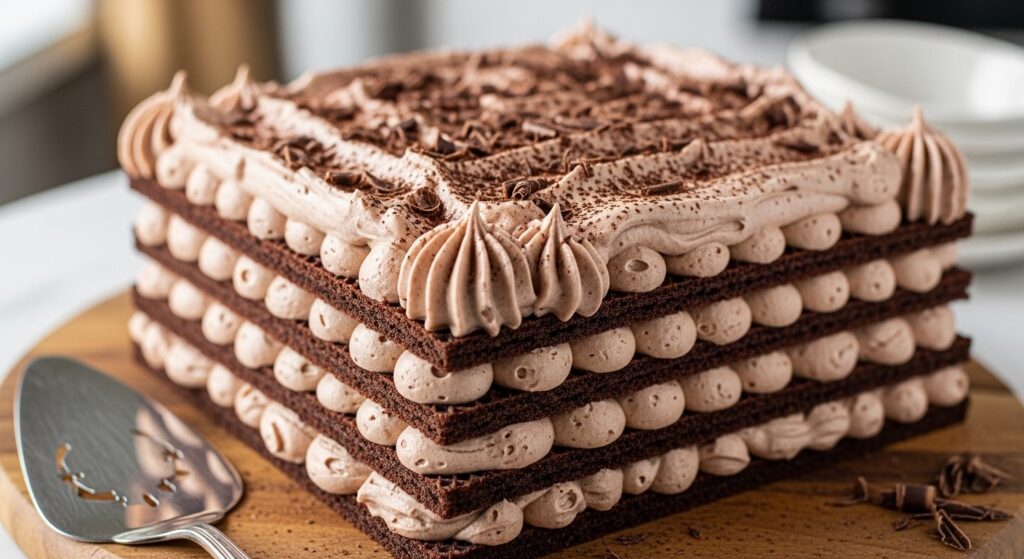
Chocolate Icebox Cake is a rich, no-bake dessert layered with fluffy, dreamy, melted chocolate and whipped cream. Perfect for summer or a lazy evening in, it requires no oven and cools perfectly in the freezer. This dessert is a hit with chocolate lovers.
| Prep Time | 30 minutes |
| Cook Time | 0 minutes |
| Total Time | 30 minutes + Chilling |
| Servings | 8–10 servings |
| Difficulty | Easy |
| Cuisine | American |
Why This Chocolate Icebox Cake Recipe Works
Chocolate Icebox Cake is simple, satisfying, and elegant. It relies on just a few high-quality ingredients, like good chocolate and fresh cream, to create a dessert that feels indulgent without needing complex techniques or heat.
After mixing and layering, the cake develops a silky, gooey texture from the melted chocolate and a fluffy, melt-in-your-mouth topping from whipped cream. The result feels decadent but guilt-free and stays perfect for hours when chilled.
Ingredients
| Ingredient | Quantity | Notes |
|---|---|---|
| Semi-sweet chocolate chips | 10 oz (280g) | Use high-quality chocolate for rich flavor |
| heavy whipping cream | 1 cup (240ml) | You can use full-fat canned coconut cream for a dairy-free alternative |
| vanilla extract | 1 tsp | Helps enhance the flavor depth |
| sugar | 1/4 cup (50g) | Adjust to taste or use a sweetener of choice |
| garnish: chocolate curls or cocoa powder | To taste | Optional for visual appeal and added texture |
Step-by-Step Instructions
Prepare the Base
- Melt chocolate chips in a microwave or over a double boiler until smooth.
- Pour the melted chocolate into a 9×5-inch loaf pan or a rectangular serving dish. Smooth the surface with a spatula, and let it cool at room temperature for about 15–20 minutes, or until set to the touch.
Make the Whipped Cream Topping
- In a chilled mixing bowl, whip heavy cream with sugar and vanilla extract until stiff peaks form.
- Using a spatula, spread the whipped cream evenly over the cooled chocolate layer.
- Create a decorative finish with a spatula or spoon for a professional look.
Chill and Set
- Cover the cake with plastic wrap and chill in the refrigerator for at least 2 hours, or in the freezer for 1 hour for faster results.
- Once set, slice into 8–10 slices and serve.
Chef Tips for Perfect Results
- Use room temperature chocolate: Melted chocolate should not be hot when layering; otherwise, the cold cream layer may soften too quickly, making it messy.
- Whip cream right before layering: Cold cream holds its structure well and prevents melting when in contact with melted chocolate.
- Opt for glass or metal pans: These conduct heat and cold better, helping the layers set properly and make easier assembly.
- Chill properly: If the cake feels wobbly or soft when sliced, return it to the fridge for 10–15 more minutes for a cleaner cut.
- Add a pinch of salt: Enhance the flavor of the whipped cream by adding a tiny pinch of sea salt for a perfect balance in sweetness and richness.
Common Mistakes to Avoid
- Using hot melted chocolate: Hot chocolate can melt the whipping cream layer too quickly when poured on top, creating a slushy cake. Fix this by letting chocolate cool slightly before layering.
- Over-whipping cream: Avoid whipping beyond stiff peaks, as it can turn to butter. Be careful when mixing and stop as soon as the cream holds its shape.
- Not chilling long enough: Cutting into the cake too early will result in messy slices. Allow time for the layers to stabilize.
- Using low-quality chocolate: Cheap chocolate may not melt smoothly and can leave a bitter finish. Choose a premium brand with 60% cocoa content for best results.
Variations and Substitutions
| Ingredient | Substitution | Impact on Flavor |
|---|---|---|
| Heavy whipping cream | Coconut cream | Cocoa flavor blends well and adds a tropical aroma. Texture is still rich and fluffy with proper technique. Best chilled to ensure firmness. |
| White chocolate | Dark chocolate | Dark chocolate offers a deeper, bittersweet flavor that pairs well with whipped cream. It cools and hardens slightly better. |
| Sugar | Stevia or monk fruit sweetener | Uses less sugar without compromising taste. Ensure sweetener is suitable for cold desserts for best results. |
| Vanilla extract | Cocoa powder | Suitable if you omit vanilla. Enhances chocolate presence but adds less aroma. Works best in small quantities—about 1 tsp for 1/4 cup of sugar. |
Serving Suggestions and Pairings
A slice of Chocolate Icebox Cake serves as the star dessert on a sweet platter. Pair with fresh raspberries, mint leaves, or a sprig of edible flowers to elevate presentation. This dessert is perfect for:
- Family gatherings: Serve with coffee or tea after main courses.
- Summer patios: It’s a delightful cool treat during barbecues and pool parties.
- Weekend brunch: A refreshing alternative to traditional pastries.
- Gifts and potlucks: Wrap slices in parchment for individual portions to share with friends and family.
- Movie nights: Offer with a side of chocolate sauce for a fun and cozy dessert experience.
Storage and Reheating
| Method | Duration | Instructions |
|---|---|---|
| Refrigerator | Up to 3 days | Keep in an airtight container. Best when served within 24 hours for fluffiest texture. |
| Freezer | Up to 2 weeks | Thaw in the fridge for 2–3 hours before serving to soften the texture and enhance flavor. |
Nutritional Information
| Nutrient | Amount per Serving |
|---|---|
| Calories | Approximately 220 |
| Protein | Approximately 3g |
| Fat | Approximately 15g |
| Carbohydrates | Approximately 22g |
| Sugar | Approximately 18g |
| Sodium | Approximately 15mg |
Frequently Asked Questions

Can I substitute heavy cream with milk or half-and-half?
No, milk or half-and-half will not whip properly and will result in a runny topping that cannot hold a shape or support the chocolate layer.
How do I know when the cake is set enough to slice?
The cake is ready to cut if the surface is firm and doesn’t easily give in when touched. Use a small knife to press gently; if it springs back quickly, it’s ready.
Can I make this the night before a party?
Yes, prepare and chill the cake at least 2 hours before serving or up to 3 days in the refrigerator. Avoid freezing for extended periods to preserve the whipped cream texture.
What if the topping begins to melt or slide?
If the cake is warm or improperly chilled, the cream may not hold. Return the cake to the fridge or freezer for 10–15 minutes to re-set the layers before slicing again.
Can I use milk chocolate instead of semi-sweet chocolate?
Absolutely. Milk chocolate adds a sweeter flavor but may be less rich. For balance, you may reduce the amount of sugar in the whipped cream slightly to keep the flavor from becoming too sweet.
Conclusion
A Chocolate Icebox Cake is a creamy, melt-in-your-mouth delight that combines gooey chocolate and fluffy whipped cream for a rich yet simple dessert. It’s versatile, easy to customize, and a hit for any occasion. Make it to impress or to satisfy your sweet tooth, and savor the signature chocolate flavor every bite.
PrintChocolate Icebox Cake
A no-bake, creamy dessert layered with melted chocolate and whipped cream. Perfect for summer or lazy evenings, this chilled chocolate cake is rich, indulgent, and easy to make with just a few ingredients.
- Prep Time: 30
- Total Time: 30
- Yield: 8–10 servings
- Category: Deserts
- Method: No-Bake
- Cuisine: American
- Diet: Vegetarian
Ingredients
10 oz (280g) semi-sweet chocolate chips
1 cup (240ml) heavy whipping cream
1 tsp vanilla extract
1/4 cup (50g) sugar
Chocolate curls or cocoa powder, to taste (optional garnish)
Instructions
Melt chocolate chips in a microwave or double boiler until smooth.
Pour melted chocolate into a 9×5-inch loaf pan or rectangular dish. Smooth the surface and let cool 15–20 minutes until set.
In a chilled bowl, whip heavy cream with sugar and vanilla until stiff peaks form.
Spread whipped cream over the cooled chocolate layer and decorate as desired.
Cover and chill in the refrigerator for 2 hours or freezer for 1 hour.
Slice into 8–10 servings and serve.
Notes
Use high-quality chocolate for better flavor
Coconut cream is a viable dairy-free alternative
Adjust sugar to taste or use a sweetener
Chill until firm for clean slices